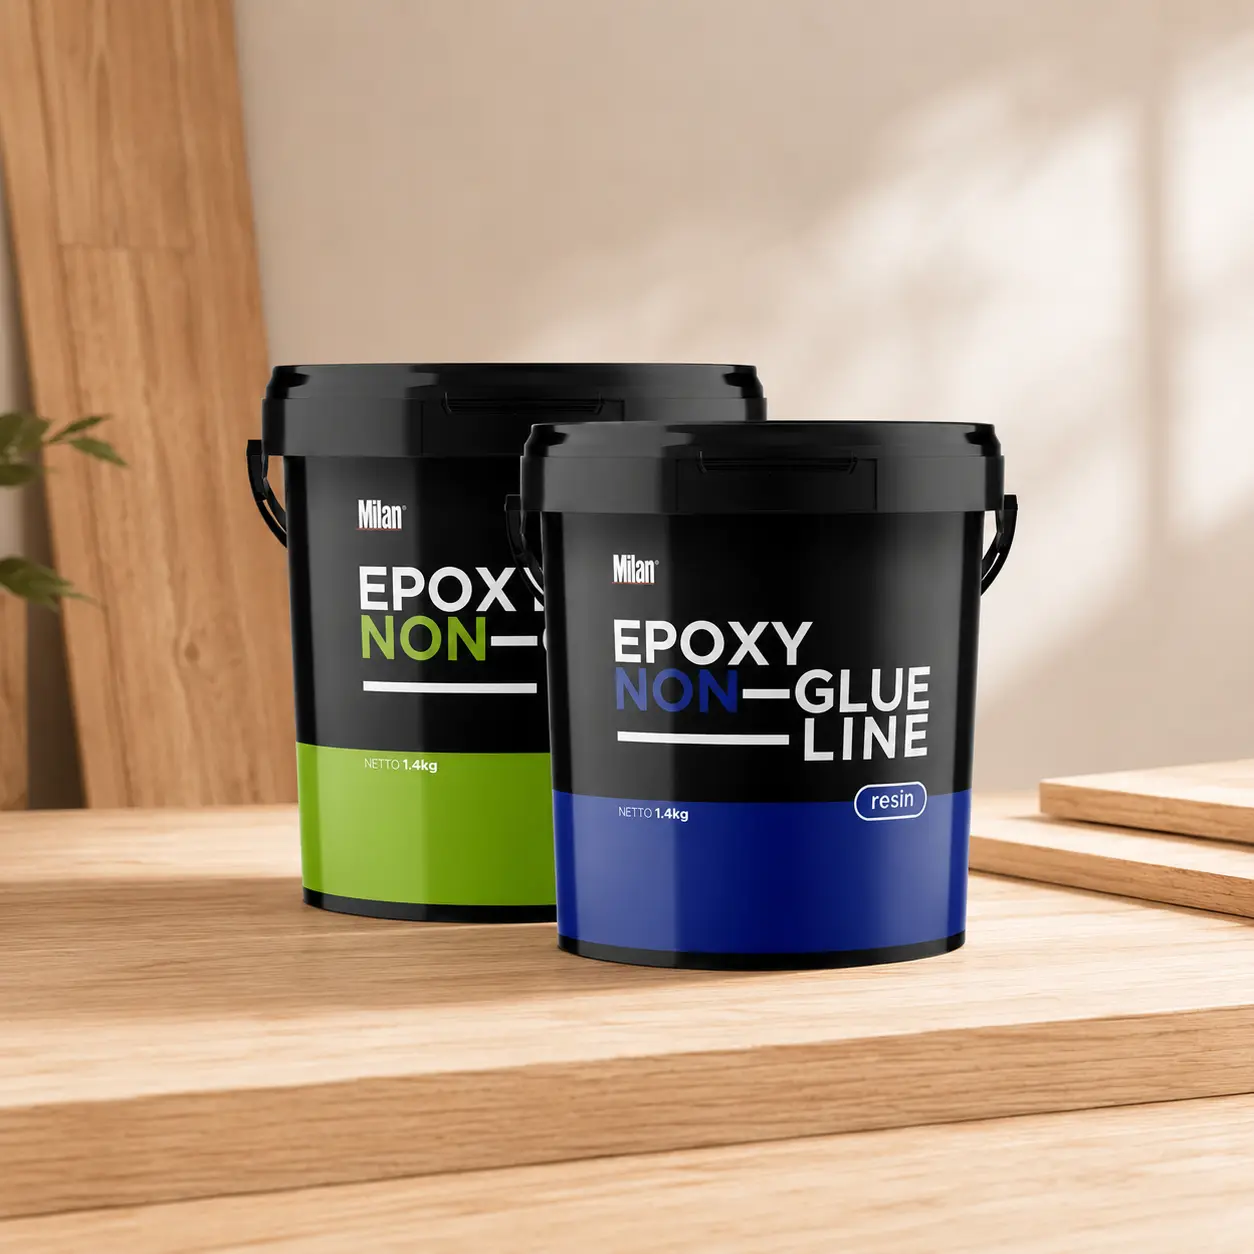
Epoxy Without a Glue Line

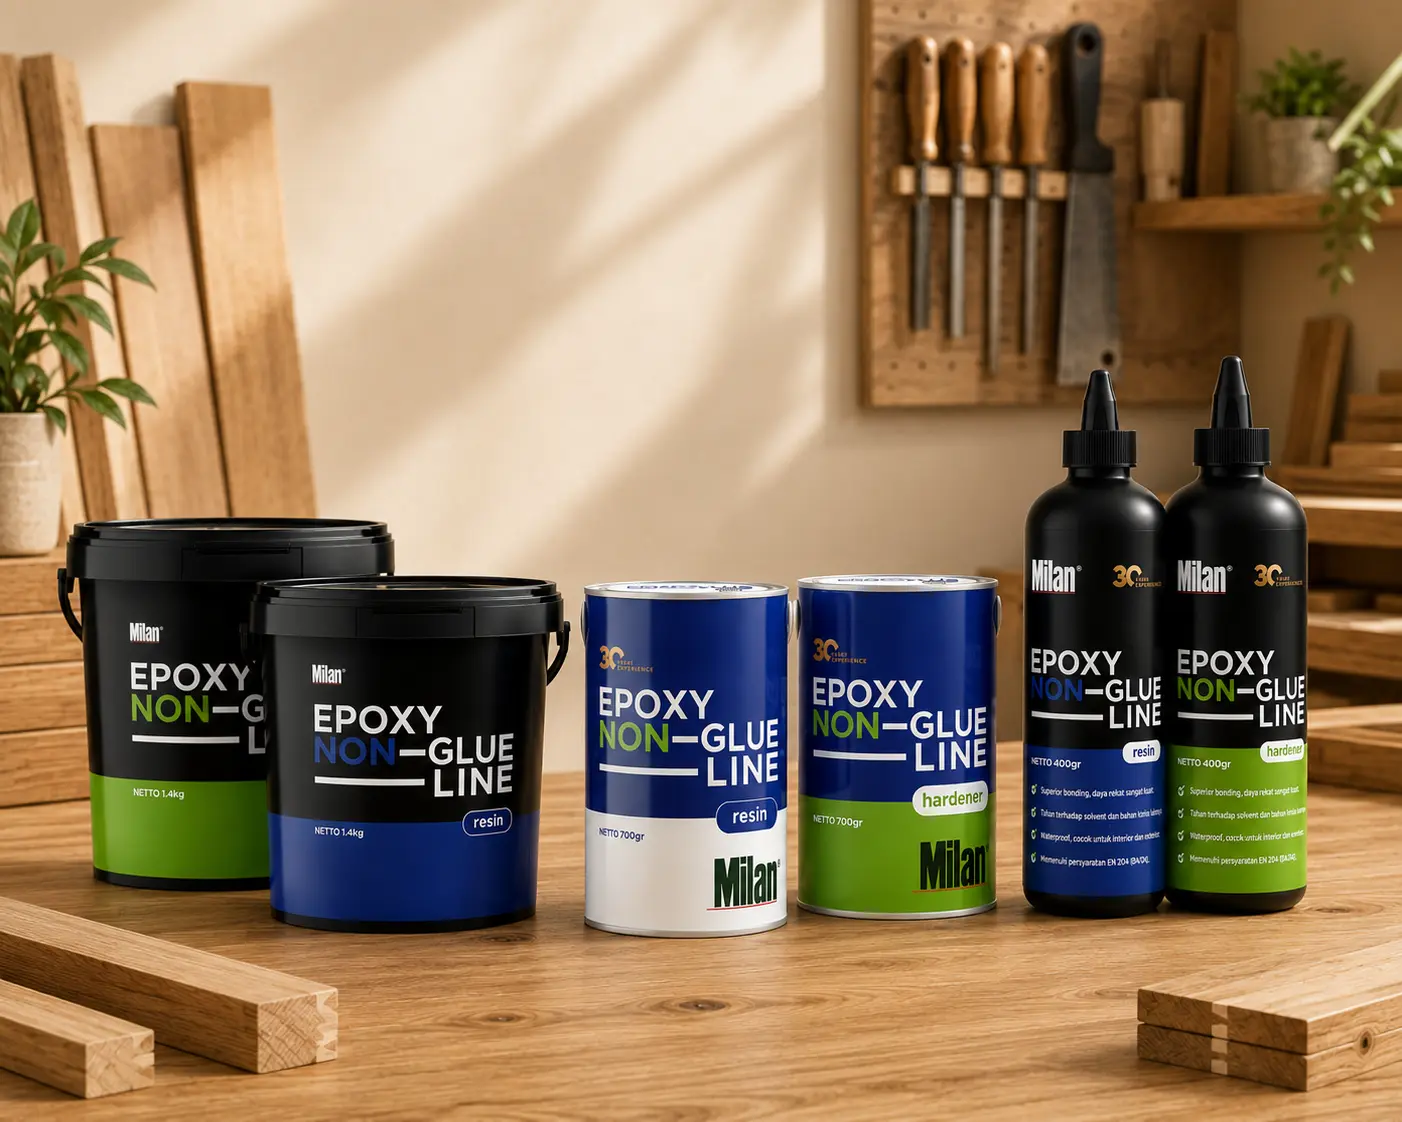
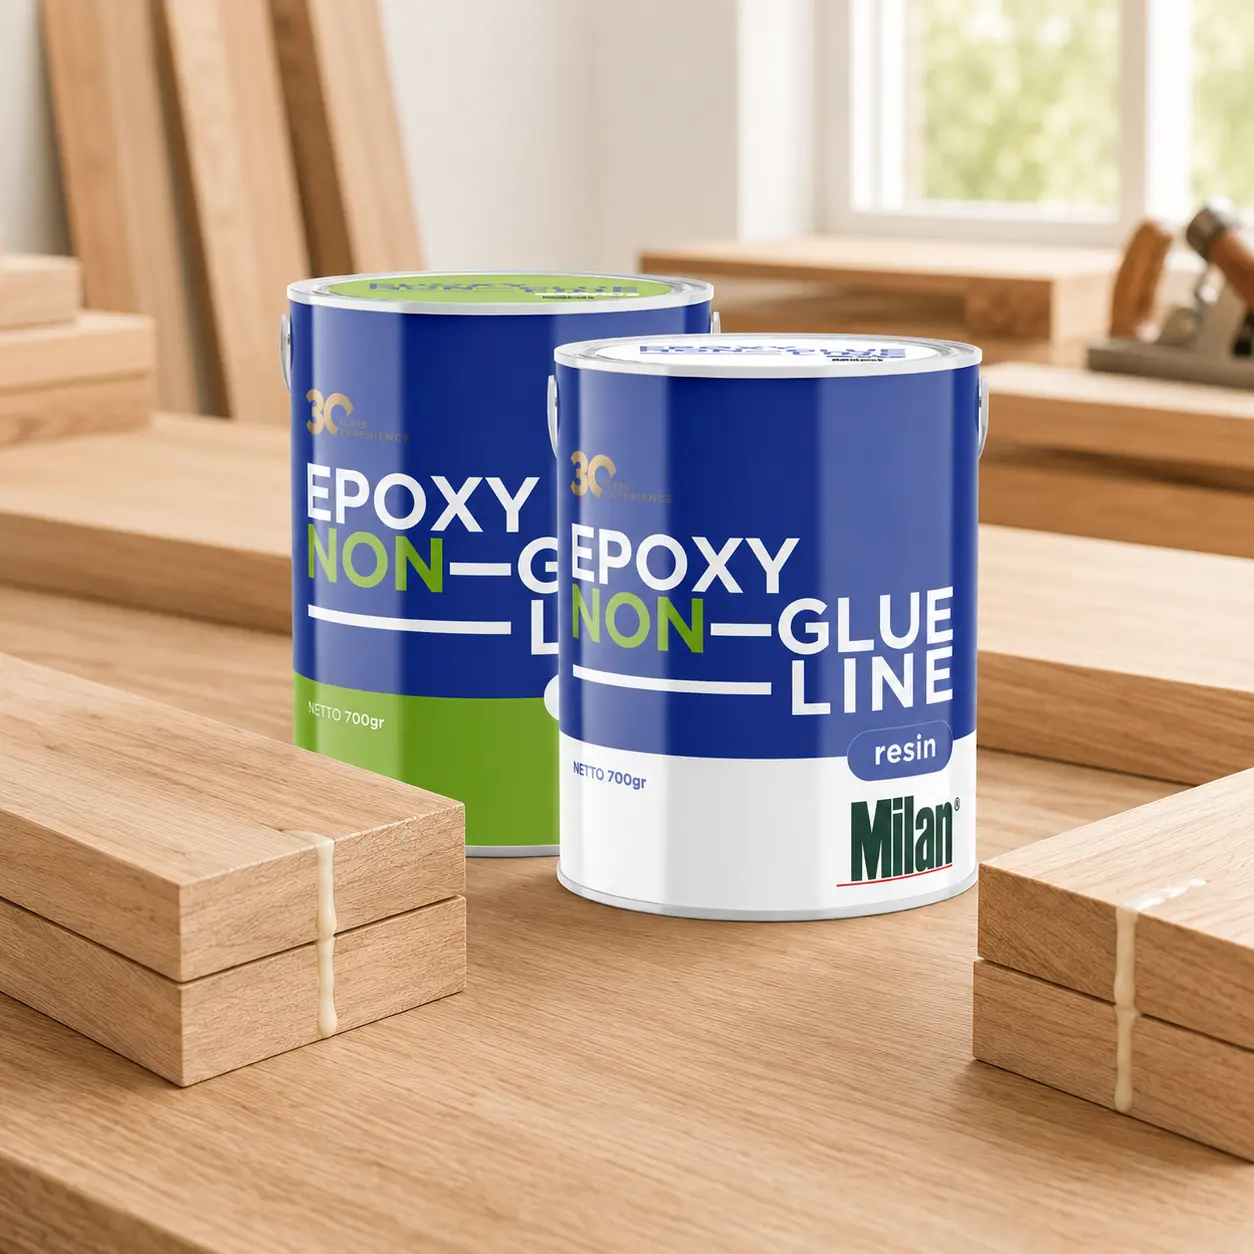
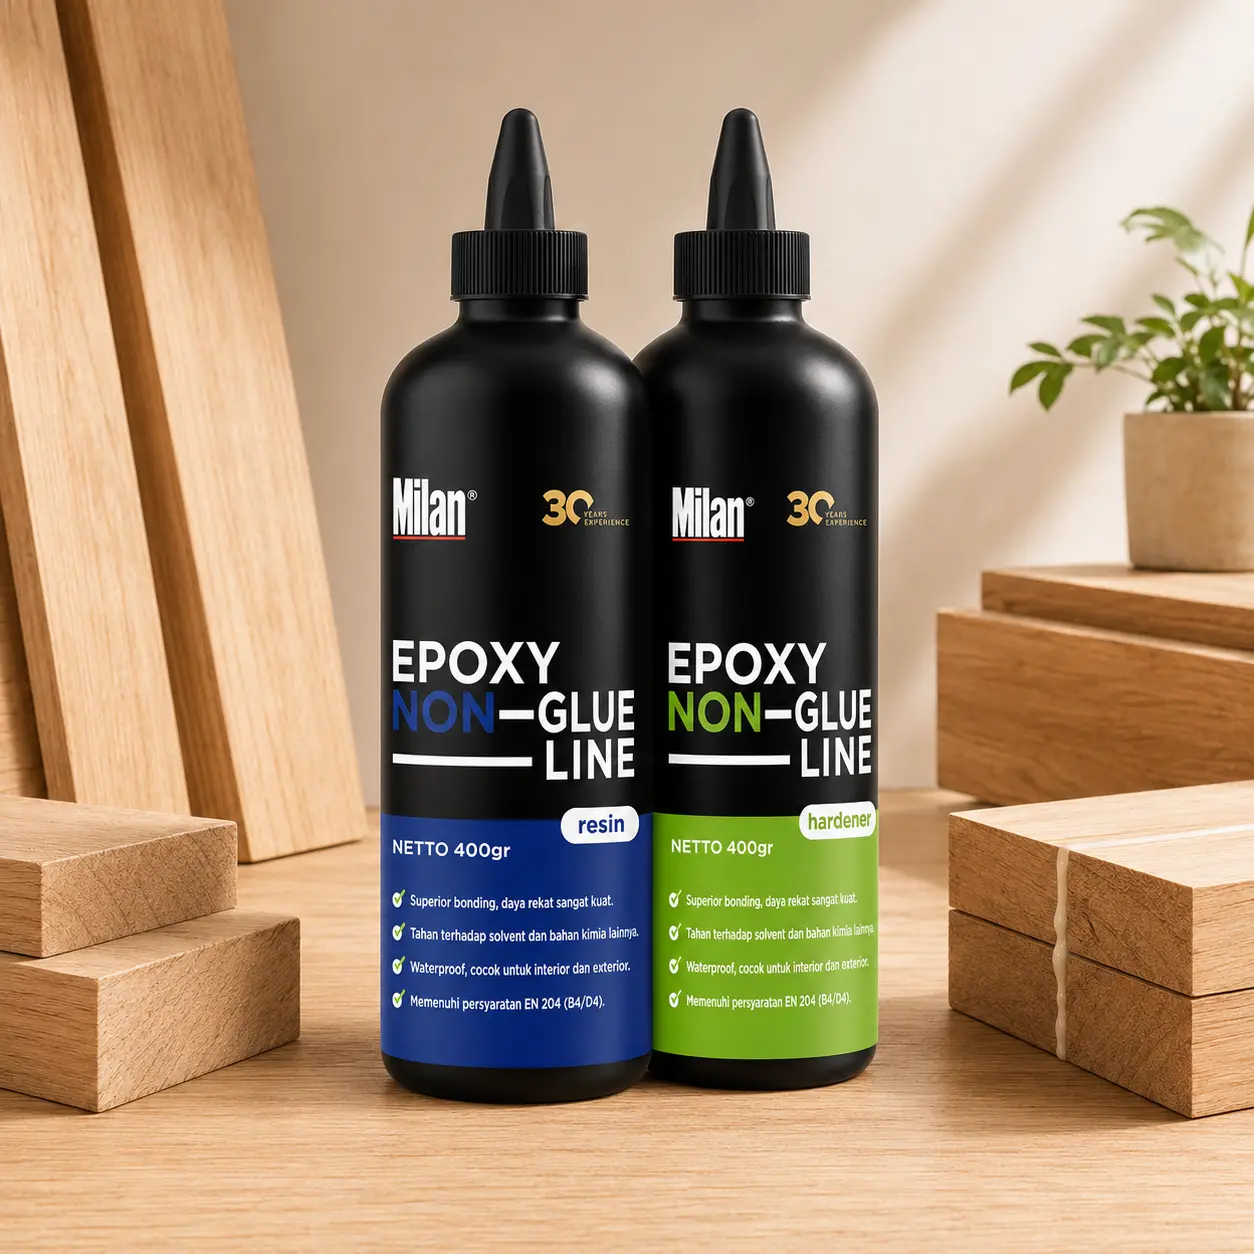
Milan Epoxy Non Glue Line (NGL) is a two-component epoxy adhesive (resin and hardener) specifically designed to bond wood to wood without leaving a black line (glue line). It is the ideal solution for furniture, wood construction, and woodworking applications that require clean and aesthetically pleasing joints.

Epoxy Without a Glue Line: Wood Epoxy Adhesive Without a Black Line for Neater Joints

Milan Epoxy Non-Glue Line (NGL) is a two-component epoxy adhesive (resin and hardener) specifically designed to bond wood to wood without leaving a black line (glue line). It is the ideal solution for furniture, wood construction, and woodworking projects that require clean and aesthetically pleasing joints.

Formulated with superior bonding strength, Milan Epoxy NGL It produces a very strong bond for various types of wood. The joints are stronger, more durable, and help maintain the quality of the finished product over the long term.

In addition to being strong, this high-strength wood glue also prevents glue lines resistant to solvents and various chemicals, and has the property of waterproof which makes it suitable for both interior and exterior applications. It delivers optimal performance even in environments that demand greater durability.

As waterproof wood epoxy glue in accordance with the standards B4/D4, This product is widely used in the furniture industry, wood manufacturing, laminated panels, and wood construction—all of which require high resistance to water, chemicals, and long-term use.

The ideal solution for those of you looking for wood glue without black streaks, high-strength wood glue, and premium wood adhesive with a more professional final result. Order now by clicking the banner below and get a special price from Milan!
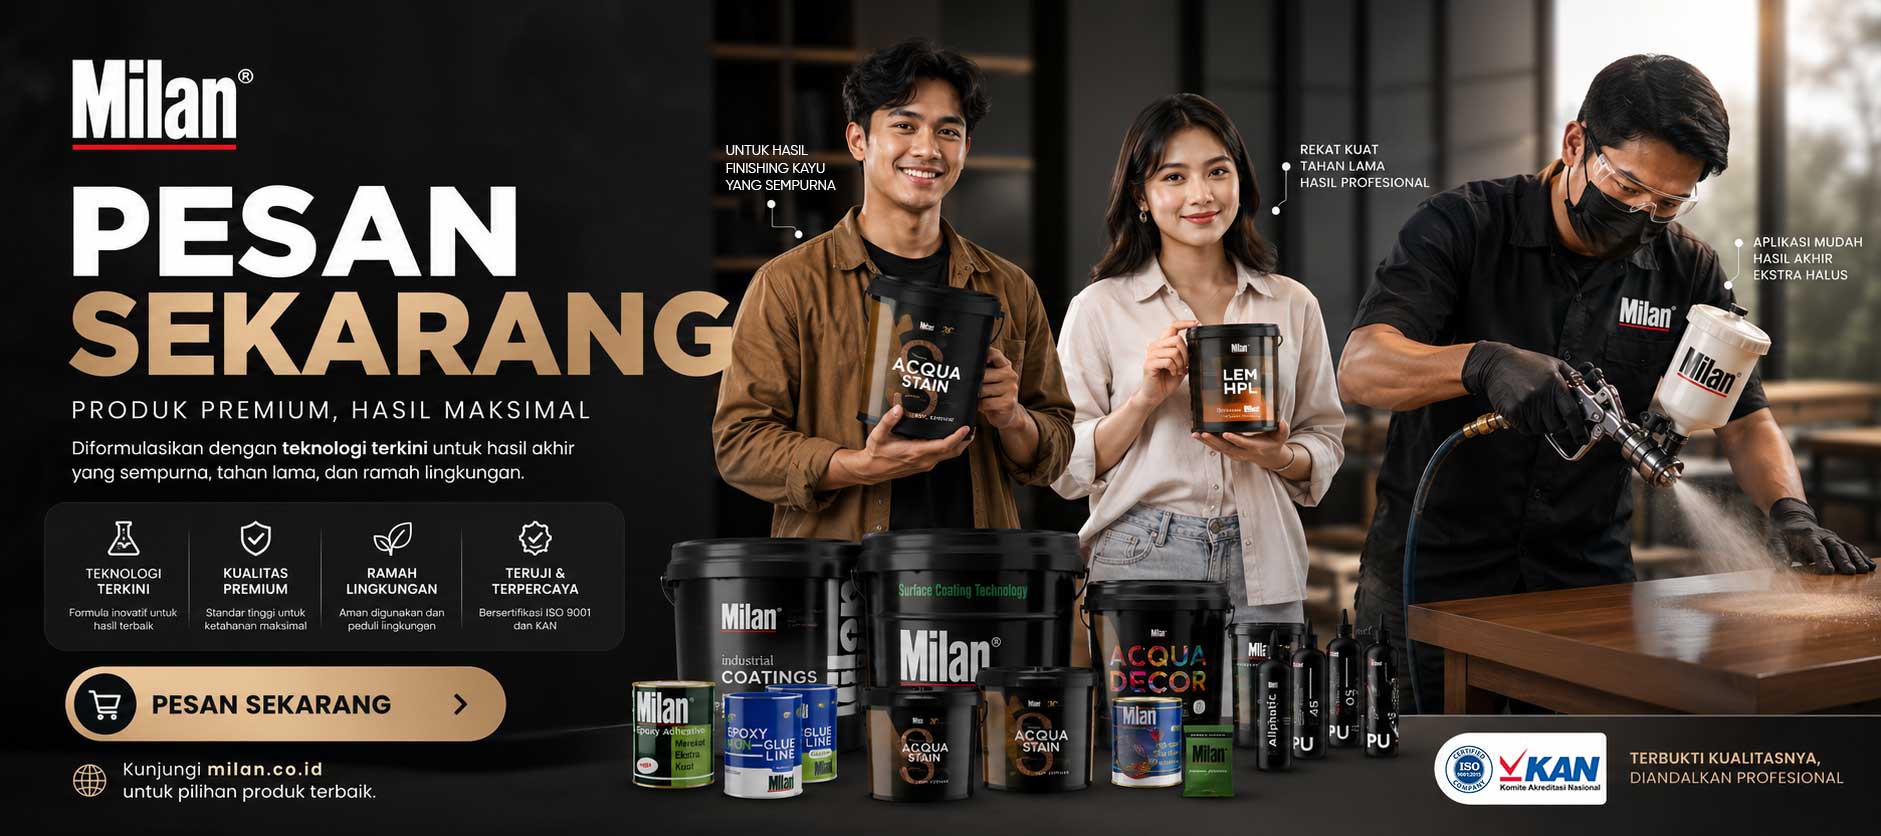
A promotional banner for Milan Coating & Adhesive products featuring Indonesian technicians applying wood coating and showcasing a variety of premium industrial finishing products from Milan.co.id.

Packaging

Milan Epoxy Non Glue Line (NGL) is available in packages 0.8 kg, 1.4 kg, and 2.8 kg to meet a variety of needs, ranging from minor repairs and custom furniture work to professional wood production and woodworking.

Advantages of Non-Glue-Line Epoxy

Why should you use Milan’s glue-line-free wood glue? Because this product offers a variety of benefits for your various project needs, including:

1. Superior bonding, extremely strong adhesion

2. Resistant to solvents and other chemicals

3. Waterproof, suitable for indoor and outdoor use

4. Meets the requirements of EN 204 (B4/D4)

5. No visible glue line (Non-Glue Line)

User Guide for Non-Glue Line Epoxy

To ensure optimal results and a strong bond at the wood joints, you need to follow these proper application steps.

1. The wood must be free of dust and oil

2. Make sure the wood surfaces to be joined are flat on both sides. The maximum gap or difference in surface level should not exceed 0.5 mm.

3. Mix component A (resin) and component B (hardener) in a 1:1 ratio, and stir until thoroughly mixed.

4. Apply the Milan Epoxy Non Glue Line mixture evenly to one side of the wood to be bonded.

5. Align the two wooden surfaces and clamp them together. Make sure to clamp them tightly until the glue oozes out of the joint.

6. The pot life of Milan Epoxy Non Glue Line is 1 hour; make sure the mixture has been applied and the two pieces of wood have been pressed together before 1 hour has elapsed.

7. Immediately wipe away any excess glue with a dry cloth or paint thinner until the surface is clean, so the glue doesn’t dry on the outside. Use a chisel to remove any excess glue that has already dried.

8. Let the glue dry completely before proceeding to the painting stage. Sand off any remaining adhesive from the surface to be painted.

9. Remove the clamp after 1 hour, then proceed to the next step.
*The ideal time for the bonding test is 12 hours.
*Drying time is affected by humidity, temperature, and surface porosity.

10. This product cures through a chemical reaction between Component A (resin) and Component B (hardener). Do not mix up the caps for Components A and B. Store in a cool, dry place. Keep away from heat sources such as direct sunlight.


Dos and Don'ts

Do

Read and follow all the instructions for use printed on the packaging.

Make sure the substrate surface is free of dust, dirt, oil, and peeling paint before application.

Wear gloves, a mask, and any necessary personal protective equipment during the work process.

Mix the resin and hardener in the recommended ratio in a clean, dry container, then stir until thoroughly mixed.

Apply the adhesive evenly and to the appropriate thickness to the surface to be bonded.

Immediately join the two substrates together after application and apply even pressure using clamps or tongs.

Keep the clamp in place for at least 60 minutes, then allow the joint to dry and harden completely before use.

Work in a well-ventilated area and store the product in a tightly sealed container in a cool, dry place, out of the reach of children.


Don’t

Do not apply the adhesive to surfaces that are dirty, dusty, greasy, or wet.

Do not mix more adhesive than is needed for the application.

Avoid using it at temperatures that are too high or too low.

Do not use the adhesive too long after the two components have been mixed.

Do not delay joining the surfaces after the adhesive has been applied.

Do not use application tools that are contaminated with other substances.

Do not remove the clamps, move the joint, or apply any load until the adhesive is completely dry.

Do not store the adhesive in a manner that does not comply with the storage recommendations.

Note: Do not add excess hardener or resin to speed up drying time, as an incorrect ratio will result in poor bonding.