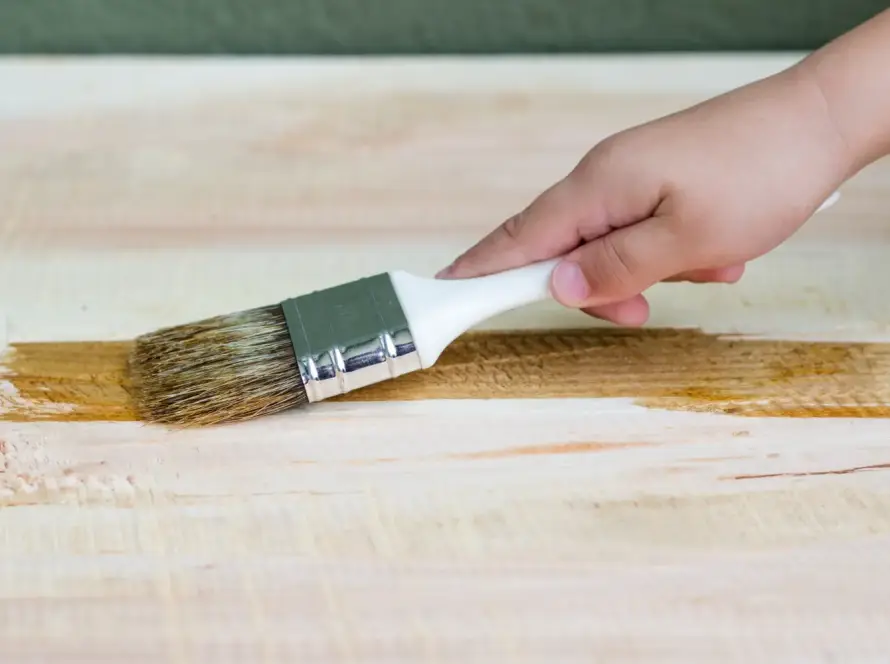
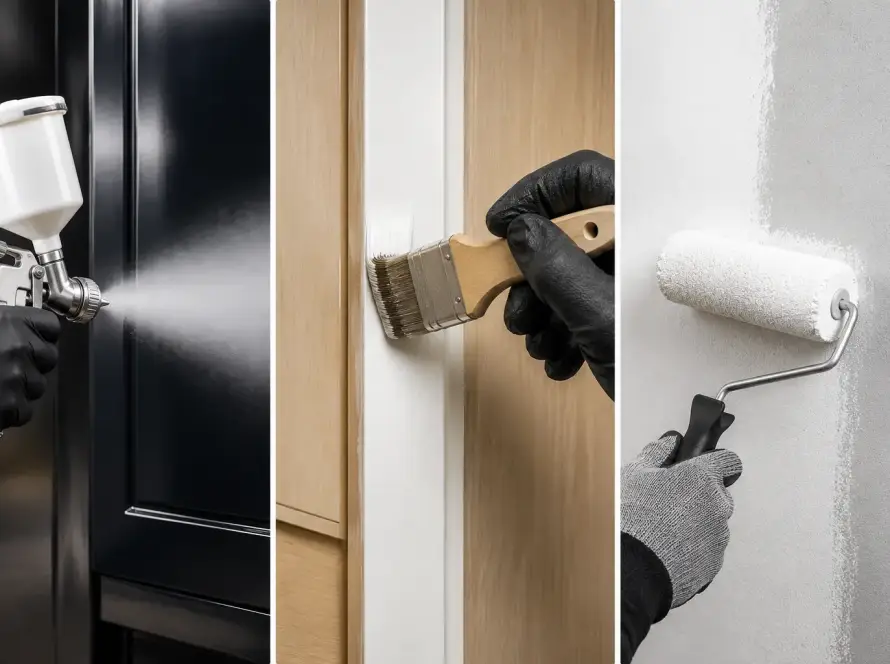
The quality of wooden furniture or interior elements isn’t determined solely by the product and the finishing process. In fact, one crucial step that should not be overlooked is the use of a filler or pore-sealer before applying the finish.
Wood filler and wood putty—these two materials are often considered the same, even though they have different functions and uses.
Understanding the difference between wood filler and wood putty helps Milanians working on projects choose the right material to smooth out wooden surfaces before finishing.
With the right choice, the surface preparation process becomes more efficient and the final result looks neater.
Why Is the Choice of Wood Filler Important for the Final Finish?
1. Wood Surfaces Aren’t Always Ready for Finishing Right Away
Wood has fibers and pores with varying characteristics. Some types of wood have open pores that are quite visible, so if a coating or paint is applied directly, the surface may appear uneven. Therefore, wood filler is needed to prepare the surface before moving on to the finishing stage.
2. Holes, Cracks, and Pores in Wood Can Affect the Final Appearance
Nail holes, small cracks, gaps, and open wood pores can make the surface appear rough or uneven. If these issues are not addressed with the appropriate materials, the final paint or coating finish may reveal surface imperfections.
3. The Right Filler Helps Create a Smoother Surface
Choosing the right filler helps cover areas of the surface that need repair. Pore-filling materials, for example, can help create a smoother, more even wood surface, making the sanding and subsequent finishing processes easier.
4. Choosing the Wrong Material Can Affect Adhesion and Finish
Not all filler materials are suitable for every finishing system. Using the wrong material can make the surface difficult to sand, result in an uneven coating, or prolong the finishing preparation process.
5. The Type of Wood Damage Determines the Most Appropriate Material to Use
Open pores require a different approach than deeper holes or cracks. The difference between wood filler and wood putty becomes important at this stage because the choice should be based on the type and extent of damage to the wood surface, not simply on the product name.
See Also: 5 Problems When Applying Wood Finishes That Prevent Optimal Results
Understanding Wood Filler and Wood Putty
Wood filler is a filling material used to help fill the pores and imperfections in a wood surface before finishing. Its primary purpose is to help create a flatter and smoother surface.
Meanwhile, wood putty is generally used to fill surface imperfections such as nail holes, cracks, or localized damage to wood. The properties and formulation of wood putty can vary depending on the product and its application.
Therefore, Milanians should still review the instructions for use and the material properties before applying it.
The Difference Between Wood Filler and Wood Putty
1. Functions and Purpose of Use
The most fundamental difference between wood filler and wood putty lies in their intended use.
Wood filler is most often used to fill pores and help prepare the wood surface before finishing.
Meanwhile, wood putty is primarily intended to repair specific defects or holes in a wooden surface.
2. Ability to Fill Pores and Holes in Wood
Wood filler is designed to help fill the pores of wood evenly, especially on surfaces that require preparation before finishing.
Furthermore, wood putty is more commonly used to fill imperfections such as nail holes or visible cracks in specific areas. Therefore, the two are not always interchangeable in all situations.
3. Response to Changes in Humidity
Wood can expand and contract due to changes in humidity. Wood putty is generally better suited for repairing certain defects, and its flexibility depends on the product’s formulation.
Wood filler is most commonly used as a surface preparation material, primarily to help fill pores before finishing.
4. Results After Sanding
Wood filler is generally designed to be sanded after it dries to achieve a smoother surface before finishing.
Wood putty can also be sanded on certain products, but the results and ease of sanding depend on the formulation of each product.
5. Suitability for the Finishing Process
Wood filler is widely used as part of surface preparation before paint or a coating is applied.
Wood putty can also be used before applying the finish, but you must first ensure that its formula is compatible with the type of finish you plan to use.
6. Applications in Furniture and Interior Products
For furniture with open-grained wood that requires a smooth surface before finishing, wood filler is more commonly used.
Wood putty is most often used on specific areas that have holes, cracks, or damage that need to be repaired locally.
7. Pros and Cons
Wood filler is excellent for filling pores and preparing the surface so it’s smoother before finishing. Wood putty is more practical for repairing localized defects such as holes or cracks.
The disadvantages of both depend on the product’s characteristics, the condition of the wood, the thickness of the application, and the finishing system used.
8. Areas of Application
Wood filler is generally used on areas of a wooden surface that have open pores or need to be smoothed out before finishing.
Meanwhile, wood putty is better suited for spot repairs that require filling specific areas.
See Also: Primer, Sealer, and Top Coat: What’s the Difference in a Wood Finishing System?
When Is the Best Time to Use Wood Filler?

Wood filler should be used when Milanians need to prepare a wooden surface before finishing, especially to help seal the pores and create a smoother surface.
This material is very useful when the final finish requires a smooth and neat surface.
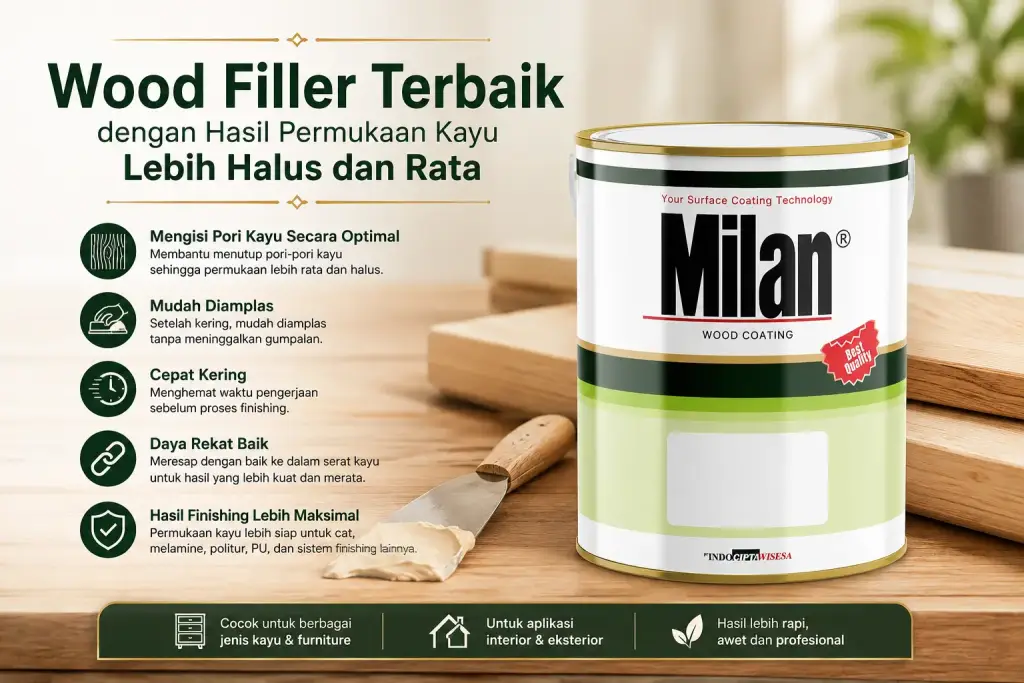
To meet those needs, Milan Wood Filler could be an option. This alkyd resin-based product absorbs well into wood fibers, is easy to sand, and is formulated to help create a smoother, more even surface before finishing.
When Is the Best Time to Use Wood Putty?
Wood putty is best used when there are localized imperfections, such as nail holes, cracks, or damaged areas of wood that need to be filled. This material can help smooth out specific areas before the surface moves on to the next stage.
However, the choice of wood putty should still be based on the product’s specifications. Make sure the material is suitable for the type of wood and the finishing system you plan to use so that the repairs do not compromise the final appearance.
How to Choose the Right Wood Filler or Wood Putty
1. Identifying Types of Damage to Wood Surfaces
First, check whether the main problem is open pores, nail holes, cracks, gaps, or an uneven surface.
Wood pores generally require pore-filling materials, whereas localized damage may require materials specifically designed to fill those areas.
2. Check the Depth of Holes or Cracks
The depth of the damage must also be taken into account. Shallow surface damage can be addressed using different methods than deeper holes.
Do not apply the material too thickly unless the product instructions recommend it.
3. Decide on the Type of Finish to Use
Before selecting a material, determine whether the wood will be treated with paint, varnish, melamine, polyurethane, or another finishing system. The filler material must be compatible with that finishing system to ensure an optimal final result.
4. Consider the Condition and Moisture Content of the Wood
The wood must be in suitable condition for processing. Moisture content and surface condition can affect the drying process and the final finish. Make sure the wood surface is clean and meets the product’s application requirements.
5. Choose the Right Material Based on the Type of Furniture or Application
Furniture, doors, door frames, cabinets, panels, and other wood products may have different requirements. For furniture work and surface preparation, wood filler can be a good choice when the goal is to level and fill surface pores.
6. Make Sure the Material Is Compatible with the Next Finishing Steps
Filler material is not the final step. After application, the surface is typically sanded and then finished. Therefore, choose a material that can be easily processed in the next step.
7. Pay Attention to the Quality of the Products Offered
The quality of the filler affects ease of application, the drying process, sandability, and the surface finish.
Milanians should choose products based on their specifications, formulations, application instructions, and the requirements of the job.
For wood pore filler and wood finishing preparation, Milan Wood Filler can be an option. Its advantages are that it dries quickly, is easy to sand, penetrates the wood fibers well, helps fill the pores optimally, and produces a smoother, more even surface.
How to Use Milan Wood Filler Before Finishing Wood
1. Sand the Wooden Surface with 180-Grit Sandpaper
Sand the wood surface using 180-grit sandpaper, working in the direction of the wood grain. This step helps prepare the surface and opens up the pores so that the pore-filling process can proceed effectively. Afterward, remove the sanding dust.
2. Apply Milan Wood Filler to Pores and Surfaces That Need It
Apply Milan Wood Filler to areas that require pore filling. Make sure the material is spread evenly over the wood surface. According to Milan’s instructions, the product can be thinned with thinner if necessary before allowing it to dry.
3. Make sure the wood filler fills the pores evenly
Check the surface again after application. Make sure the open pores have been evenly coated so that no areas are missed, which could cause the finish to look uneven.
4. Wait for the Milan Wood Filler to dry
Allow Milan Wood Filler to dry before sanding it again. Avoid sanding the material immediately if it is not yet dry enough, as this may affect the smoothness of the finished surface.
5. Sand Again Using 240-Grit Sandpaper
Once dry, sand the surface with 240-grit sandpaper until it appears smooth again. This step helps smooth out any remaining material on the wood surface.
See Also: Wood Sanding: Uses, Types, Sizes, and How to Do It
6. Remove the Sanding Dust
Dust from sanding must be removed before proceeding to the finishing process. A clean surface helps prevent dust particles from interfering with the application of the coating or paint.
7. Proceed to the Appropriate Finishing System
Once the surface is ready, Milanians can proceed with the finishing system of their choice. Milan lists NC, melamine, polish, acrylic, and polyurethane as finishing options after applying wood filler.
Benefits of Using Milan Wood Filler Before Applying a Finish
Using wood filler before finishing helps Milanians prepare the wood surface so it’s smoother and more even. With the pores better sealed, the finishing process can produce a neater and more professional look.
Milan Wood Filler It is also designed to help speed up the finishing process. This product offers several benefits that are particularly useful for furniture-making and workshop projects, including:
- Quick-drying
- Easy to sand
- Absorbs well into the wood fibers
- Optimally filling the pores of the wood
- Produces a flatter and smoother surface
- Helps reduce the amount of finishing paint used
- Suitable for various types of wood
- Speeding up the finishing process
With these various benefits, Milan Wood Filler can be the go-to choice for Milanians looking to achieve a more elegant finish. It can be applied before the sanding sealer and clear coat.
FAQ
Are Wood Filler and Wood Putty the Same Thing?
Not always. Wood filler is generally used to fill pores and prepare the surface before finishing, while wood putty is more often used to repair localized defects such as holes or cracks.
Can Wood Filler Be Used to Fill Nail Holes?
It may be suitable for certain purposes, but be sure to check the product specifications and instructions. For filling specific nail holes, make sure the product is appropriate for the depth and type of damage.
Can Wood Putty Be Used Before the Finishing Process?
Yes, as long as the product is designed and specified to be compatible for use prior to the selected finishing process.
Which Is Better for Furniture: Wood Filler or Wood Putty?
It depends on the specific need. For filling pores and preparing furniture surfaces before finishing, wood filler is more suitable. For repairing localized defects, wood putty is an option.
Can Wood Filler Be Sanded?
Yes. Milan Wood Filler is easy to sand, and the user guide recommends following up with 240-grit sandpaper after the material has dried.
How Long Does Wood Filler or Wood Putty Take to Dry?
Drying times vary depending on the product formulation, application thickness, environmental conditions, and surface type. Follow the drying times listed in the product instructions.
Can Wood Filler and Wood Putty Be Mixed with Other Materials?
Do not mix ingredients haphazardly. If a product can be thinned or mixed, follow the manufacturer’s recommended ingredients and ratios. Milan Wood Filler, for example, can be thinned with thinner as needed, according to the instructions for use.
What Should You Use After Wood Filler or Wood Putty?
Once the material is dry and the surface has been sanded, proceed with the appropriate finishing system. For Milan Wood Filler, Milan recommends NC, melamine, varnish, acrylic, or polyurethane.
Can Wood Filler Replace Putty?
Not always. Wood filler and wood putty serve different purposes. Use wood filler for filling pores and preparing the surface for finishing, while putty is the better choice when the primary goal is to repair specific defects or holes.
Use Milan Wood Filler to Achieve a Smoother, More Even Wood Surface Before Finishing!
Understanding the difference between wood filler and wood putty helps Milanians achieve a more elegant finish. This is because the wood surface is smoother and more even, with no gaps or holes that detract from its appearance.
To achieve these results, Milanians can use Milan Wood Filler during the furniture or interior design project before the finishing process.
Milan Wood Filler It acts as a wood filler that completely fills the pores, resulting in a smoother surface.
If you’re still unsure about how to use the app, consult with Milan’s team of experts about your project needs by clicking the banner below!