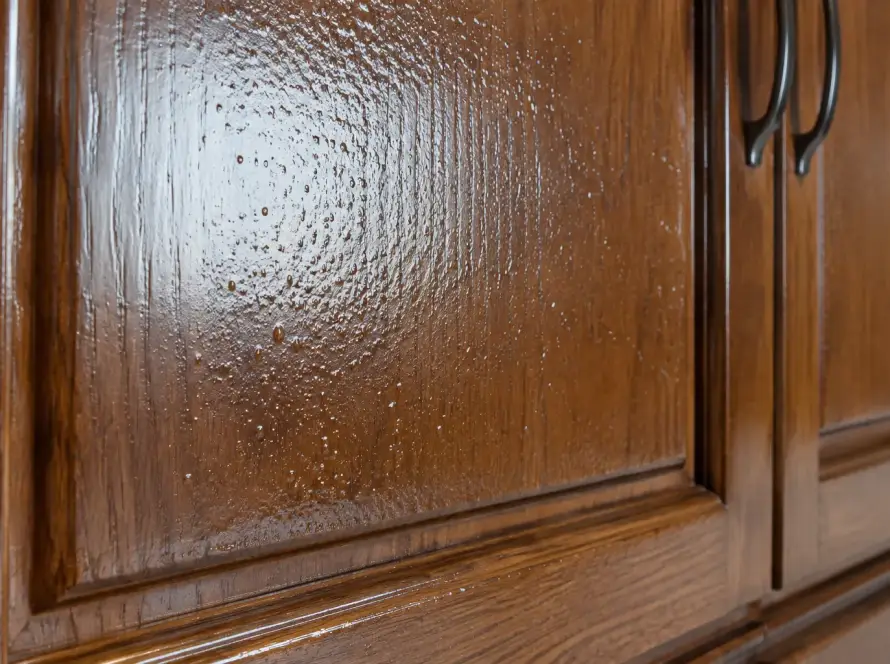
Have you ever been unsure about where to start when applying a wood finish—should you begin with the primer, the sealer, or the topcoat? While all three are types of finish coats, their functions and roles in the wood finishing system differ.
If the order is incorrect, the final result may not be optimal. This can cause the coating to peel easily, the surface to feel rough, the color to be uneven, or the wood protection to wear off quickly.
So, it’s important to understand the differences between wood primer, sealer, and top coat—especially for Milanians who are working on furniture, doors, door frames, panels, or other wood projects.
A Closer Look at Sealers, Primers, and Top Coats
A primer is a base coat applied to a wooden surface before subsequent coats. Its primary function is to improve the adhesion of the finishing system while preparing the surface so that subsequent coats can perform more effectively.
A sealer is applied between the primer and the final finish. In a wood finishing system, the sealer helps fill and level the surface after the primer, making it better prepared to receive the topcoat.
Meanwhile, the top coat is the outermost layer of the finish and the most visible part of the final result. This layer provides the final appearance—such as color, gloss level, and specific visual characteristics—while also helping to protect the underlying finish from everyday wear and tear.
So, simply put, a primer prepares the base, a sealer evens out the surface and builds up the coating system, while a top coat provides both the final finish and protection for the surface.
Why Are Primers, Sealers, and Top Coats Important in Wood Finishing?
Wood is a material with surface characteristics that differ from those of metals or plastics. Its grain, pores, moisture content, and hardness can affect the finish. If a topcoat is applied directly without proper preparation, the surface may absorb the finish unevenly.
A primer helps prepare the surface so that the finishing system has a better base. This step is important when adhesion and surface uniformity are required before applying the next coat.
The sealer then helps create a more even surface. On wood with fairly open pores, the sealer step is important because it helps produce a smoother surface after sanding.
The top coat serves a different purpose because it is the outermost layer. In addition to determining the final finish, the top coat helps provide protection against wear and tear, friction, moisture, and environmental factors, depending on the characteristics of the product being used.
Therefore, the differences between wood primer, sealer, and topcoat go beyond just their product names. All three serve distinct functions and work together as a single system.
See Also: 9 Tips for Finishing Wood to Ensure a Surface Free of Stains and Orange Peel
Differences Between Primer, Sealer, and Top Coat in Wood Finishing Systems
| Types of Finishes | Main Functions | Finishing Order | Expected Results |
| Primer | Preparing the base and improving adhesion | Initial layer | A more prepared and consistent foundation |
| Sealer | Sealing/smoothing the surface and preparing it for the top coat | After the base coat | The surface is smoother and more even |
| Top Coat | Provides a finished look and protection | Top layer | Color, gloss, and finish protection |
From the table above, Milanians can see that it is incorrect to assume that primers, sealers, and topcoats are simply interchangeable products. Their use must be tailored to the finishing system and the product’s technical recommendations.
The Proper Order for Wood Finishing, from Primer to Top Coat
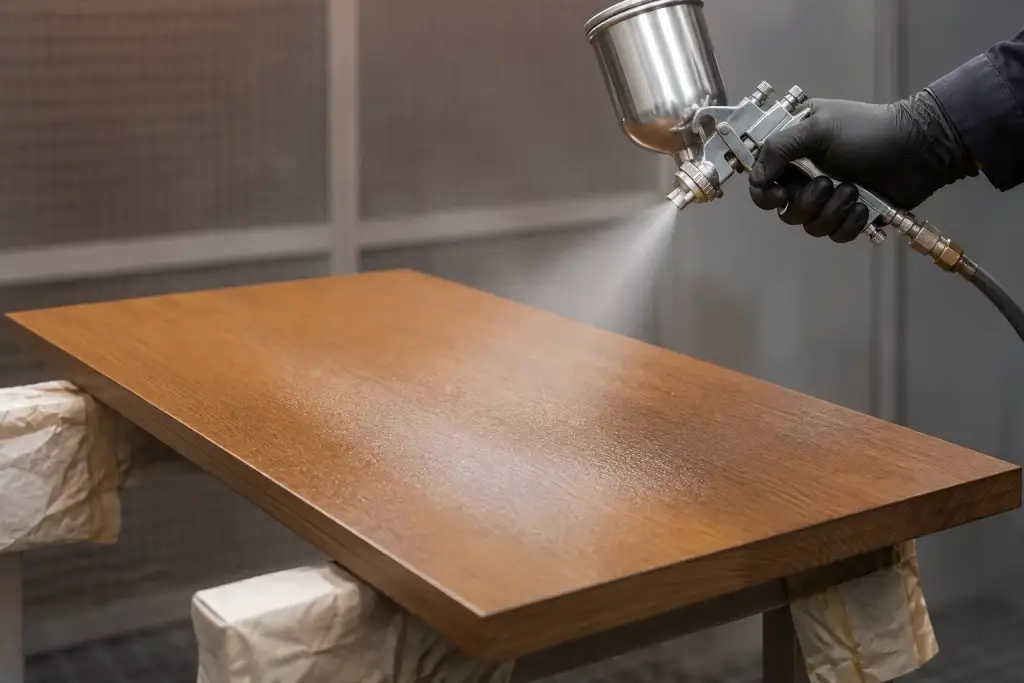
1. Clean the Surface of the Wooden Base
Make sure the wood surface is free of dust, dirt, oil, and other debris. A dirty surface can interfere with the adhesion of the finish and result in an uneven finish.
Before you begin, check the condition of the wood. Make sure the material is dry enough and free of problems such as mold or excess moisture that could affect the finish.
2. Sand Gradually
Sand the wood surface to remove rough fibers and smooth out the surface. Use progressively finer grits of sandpaper depending on the condition of the material.
Don’t just aim for a surface that feels smooth. Sanding also serves to create the right surface conditions so that the finish will adhere properly.
3. Use Wood Filler to Fill the Pores in the Wood
On wood with large pores or surfaces that have minor defects, wood filler can be used to help fill the pores and surface imperfections.
Once the filler has dried, sand it down again until the surface feels smooth. This step helps reduce any unevenness that might otherwise be clearly visible after the final finish is applied.
4. Apply Primer as a Base Coat
Primer is applied once the surface is ready. This coat serves as the base for the finishing system and helps prepare the surface for the next coat.
Apply evenly and do not apply too thickly. The thickness of the coat, application method, and drying time should follow the technical instructions for the product being used.
5. Smooth the Surface with Sanding Sealer
Once the base coat is ready, a sanding sealer is applied to help create a flatter, smoother surface. This coat can be sanded after it dries, making the surface even more ready for the final finish.
For wood finishing needs, one recommendation to consider is Milan Melamine Sanding Sealer (MSS) 25. This product is used as a sanding sealer in melamine finishing systems and helps prepare the surface before applying the topcoat.
6. Apply the Final Finish as Needed
Once the surface is smooth and ready, apply a top coat according to the desired finish and level of protection. This step determines the final visual appearance of the wood surface.
One recommendation for wood finishing systems is Milan Melamine Lacquer (ML) 252 which can provide a smoother, more elegant finish while preserving the wood’s beautiful appearance.
7. Drying Stage
Do not use or move the material immediately after application. Allow sufficient time for each coat to dry according to the product’s technical recommendations.
Suboptimal drying can prevent the coating from reaching the desired condition, making it more susceptible to scratches, pressure, or surface damage. Temperature, humidity, air circulation, coating thickness, and the type of finishing material can also affect drying time.
See Also: Melamine vs. NC vs. PU: Which Wood Finish Is Best for Your Project?
How to Choose a Primer, Sealer, and Top Coat Based on the Type of Wood
1. Hardwood
Hardwood generally has a denser structure, so the way it absorbs finishing materials may differ from that of softwood. Use a finishing system that provides adequate adhesion and a surface finish appropriate for the wood’s characteristics.
Examples include teak, mahogany, and merbau. Woods like these generally contain natural oils or extractives that can interfere with the adhesion of the finish.
The right choice:
- Use a wood primer or sealer that is compatible with oiled wood.
- For a natural finish, choose a clear sealer.
- Clean and sand the surface thoroughly before application to prevent the coating from peeling off easily.
2. Softwood
Softwoods tend to have varying structures and absorption rates, which means that finishing materials can be absorbed more quickly in certain areas. Proper surface preparation is essential to ensure a more uniform color and finish.
Examples include pine, sengon, and spruce. Softwoods tend to absorb finishes unevenly.
The right choice:
- Use wood conditioner or sanding sealer before staining.
- A primer helps produce a more uniform color.
- Water-based topcoats are suitable for interior use where a lower odor is desired.
3. Wood with Large Pores
Wood with large pores requires extra care during the surface preparation stage. If the pores are not properly treated, the final finish may appear uneven.
For wood with large pores, such as some types of meranti or oak, a sealer is essential.
The right choice:
- Use a sanding sealer or filler to fill in the pores.
- Sand the surface after the sealer has dried.
- Apply a top coat once the surface is completely smooth.
Recommendations for High-Quality Wood Finishing Products: Primers, Sealers, and Top Coats
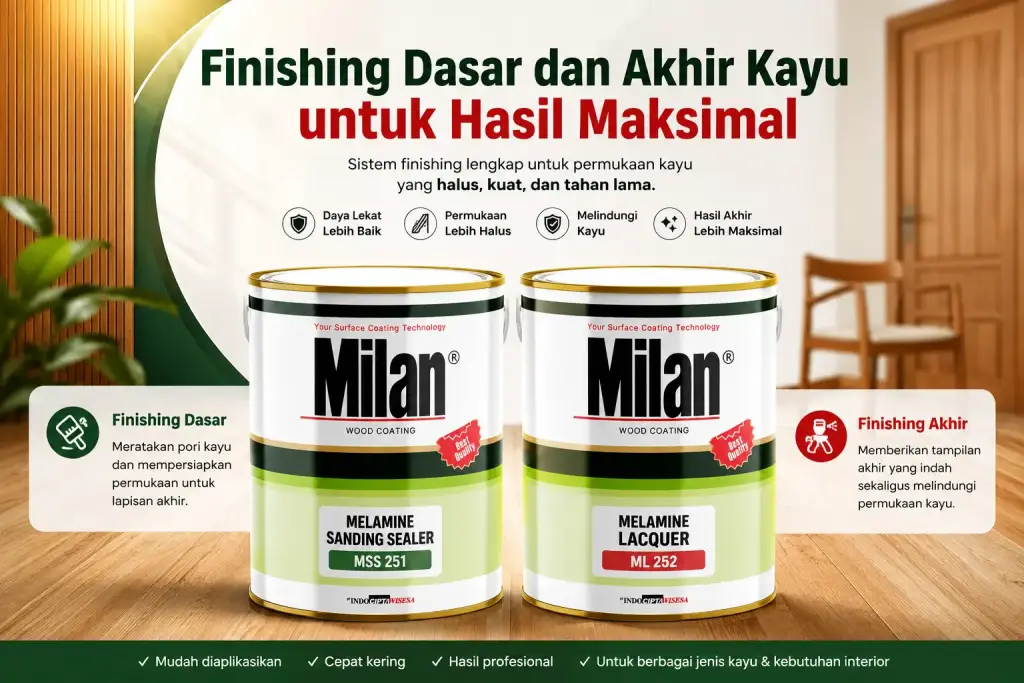
1. Milan Melamine Sanding Sealer (MSS) 251
Milan Melamine Sanding Sealer (MSS) 251 It can be an option for the sealer-sanding stage in a melamine-based wood finishing system. This is because it can be used to help prepare the surface before applying the final finish coat.
Its advantage lies in its function as a sealer coat that can be reworked by sanding, making the surface better prepared for the next finishing stage. With proper surface preparation, the final finish will appear smoother and neater.
2. Milan Melamine Lacquer (ML) 252
Milan Melamine Lacquer (ML) 252 Used as the final finishing coat in a melamine finishing system. This product is an essential component for achieving the desired final appearance of the wood surface according to the project’s requirements.
Its advantage is that it enhances the wood’s natural grain and produces a smoother, more even finish. It’s available in Gloss, Semi-Gloss, Satin, and Matte finishes—so Milanians can choose the one that best suits their needs.
It can be used as a final finish in a melamine system, allowing Milanians to create a wood-grain finish after the preparation and sanding of the sealer are complete.
So, Which Should You Apply First: Primer, Sealer, or Top Coat?
If you follow the standard finishing process, the sequence is primer → sealer → topcoat.
A primer prepares the surface, a sealer helps build up and level the surface, while a top coat serves as the final layer that enhances the appearance and protects the surface.
However, this sequence must still be adapted to the specific product system being used. Not all projects require the same type of primer, and some finishing systems have specific coating recommendations from their manufacturers. So, don’t just choose based on the product name—make sure each coat is compatible with the others.
FAQ (Frequently Asked Questions)
Why Is Priming Important Before Painting or Varnishing Wood?
A primer helps prepare the surface and improve the condition of the substrate before the next coat is applied. With the right substrate, the finishing system can perform more effectively, and the surface finish will be more uniform.
What Is the Purpose of a Top Coat, and How Does It Affect the Durability of Wood?
A top coat is the outermost layer that determines the final appearance while also providing additional protection to the surface. Its durability is influenced by the type of product, the number of coats, the application conditions, and how the material is used after finishing.
Do All Types of Wood Require a Primer and Sealer?
It’s not always the same process. The choice of primer and sealer depends on the type of wood, the condition of the surface, the finishing system, and product recommendations. Wood with large pores typically requires more attention during the preparation and leveling stages.
How Many Coats of Sealer, Primer, and Top Coat Should Be Applied?
The number of coats cannot be generalized for all products. Follow the product’s technical recommendations, as thickness, application method, drying time, and material characteristics can determine the appropriate number of coats.
What Happens If a Top Coat Is Applied Without a Primer or Sealer?
If the system does require a primer or sealer, skipping that step can result in a suboptimal finish. The surface may be uneven, adhesion may not meet expectations, and the final appearance may be inconsistent.
What Factors Determine the Durability of Wood Finishes?
Durability is influenced by the type of wood, the material’s moisture content, surface preparation, the compatibility of each coat, application thickness, the drying process, product quality, and post-finishing usage conditions.
What Are the Common Mistakes When Applying Primer, Sealer, and Top Coat?
Common mistakes include an unclean surface, uneven sanding, an excessively thick coat, insufficient drying time, and the use of incompatible products. These mistakes can affect the appearance and durability of the wood finishing system.
Achieve a Smoother, More Elegant Wood Finish with Milan Melamine Lacquer!
Understanding the differences between wood primer, sealer, and top coat is indeed important for Milanians working on furniture or woodworking DIY projects. However, understanding alone isn’t enough—if the finishing products used aren’t quite right, the results won’t be optimal.
If Milanians want a smoother, more even, and more elegant wood finish— Milan Melamine Lacquer the right choice. Melamine lacquer accentuates the wood grain and produces a smooth, strong, and durable finish.
Supported by a base layer of Milan Melamine Sanding Sealer, making the wood surface smoother and the pores completely sealed.
The combination of these two finishing products results in luxurious wooden furniture and interiors. The finish has a premium, natural, and elegant look.
Interested in trying it? Milanians can get the product by clicking the banner below!