A smooth, even, and glossy wood finish is not only determined by the quality of the product, but is also influenced by the application technique and the conditions of the surface being treated. Many people already use high-quality finishing products, but the final result still looks patchy or even develops an orange-peel-like texture (orange peel).
This problem can actually be prevented from the start if the finishing process is carried out correctly. Every detail—from surface preparation and product selection to viscosity adjustment and spraying techniques—must be carefully considered.
By understanding Tips for finishing wood to ensure a surface free of streaks and orange peel, Milanians can achieve a neater, more professional, and longer-lasting finish.
What Do the Terms “Mottled Surface” and “Orange Peel” Mean in Wood Finishing?
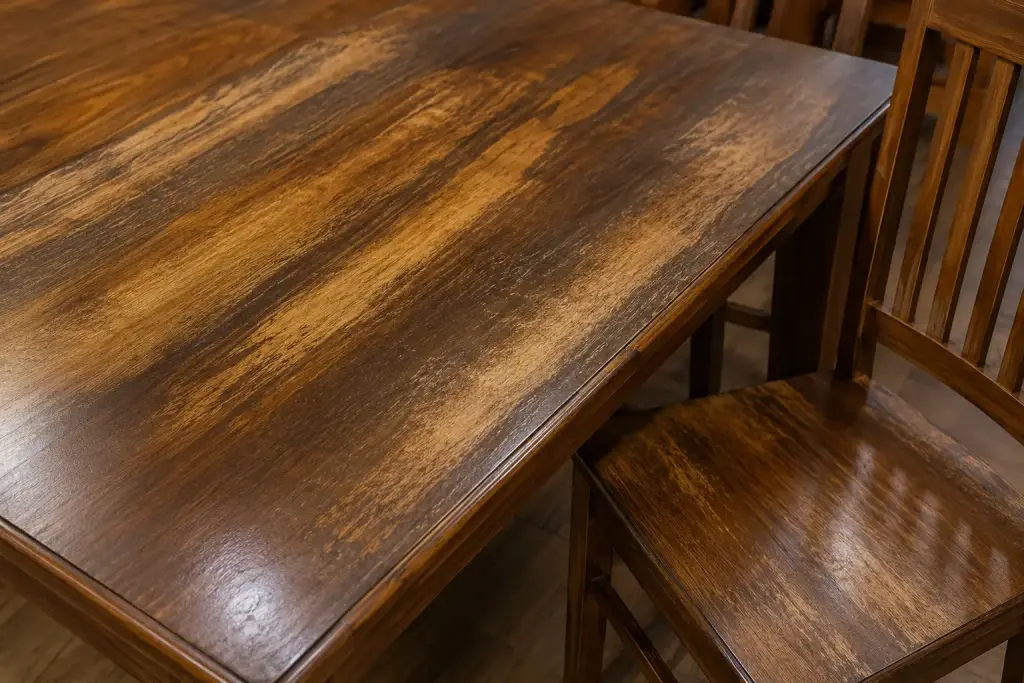
A mottled surface is a condition in which the finish appears uneven. Some parts of the wood appear darker, lighter, or have quite noticeable variations in color intensity.
This problem often arises due to uneven stain absorption, application that is too thick on one side, or a wood surface that is not yet ready for finishing.
Meanwhile, orange peel is a finishing defect that causes the surface of the paint or varnish to appear wavy, resembling the texture of an orange peel.
The finish coat has dried, but the surface is uneven, so light reflection is not optimal. In addition to detracting from the aesthetic appeal, this also makes the finish look less professional.
It’s no wonder, then, that understanding wood-finishing tips to ensure a surface free of streaks and orange peel is important for Milanians—whether they’re professional woodworkers or just local hobbyists.
See Also: 6 Wood Finishing Trends for Modern Minimalist Home Interiors
Why Can a Wood Finish Turn Out Spotty?
1. The Surface Was Not Sanded Properly
Uneven sanding causes the wood to absorb stain at different rates. Rough areas will absorb more stain than smooth ones.
It’s best to use sandpaper in stages, for example, grit 120, continued 180, and then concluded 240 so that the surface has a uniform level of smoothness.
2. Uneven Application of Paint or Finish
When the brush or spray gun moves too fast or too slow, the thickness of the finish varies. As a result, some areas appear darker than others.
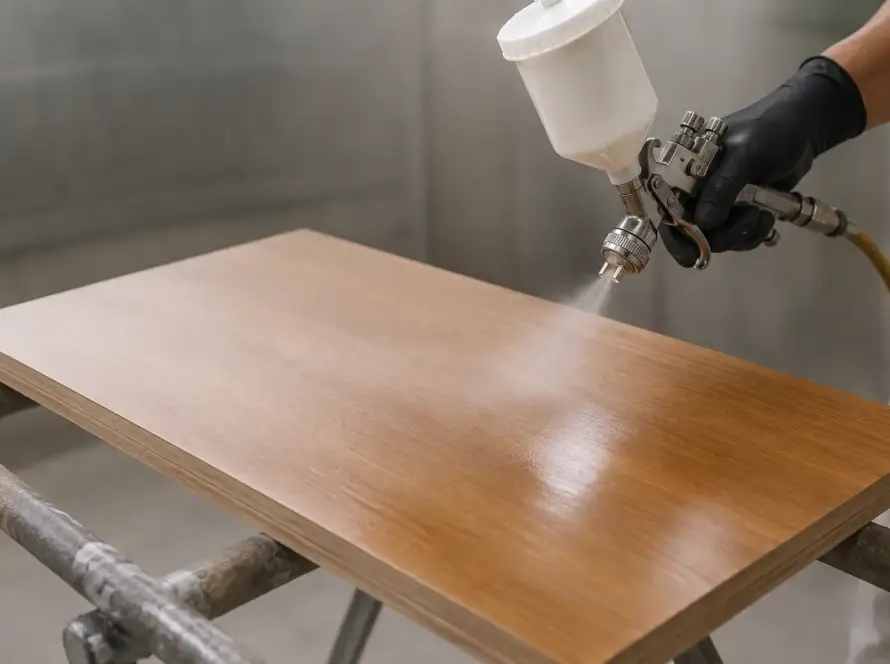
When spraying, try to keep your hand steady, maintain a consistent speed, and overlap by about 50% each track.
3. The Wood Surface Is Still Dirty, But They Forced It to Be Finished Right Away
Sanding dust, oil from your hands, and even resin residue on the wood’s surface can interfere with the absorption of the finish.
Before you start working, clean the surface with a clean cloth or tack cloth to prevent any contaminants from causing the color to become mottled.
4. The Wood Is Still Damp; the Moisture Content Is Too High
Wood with a high moisture content will absorb the finish unevenly. Ideally, the wood’s moisture content should be in the range of 8-12% before the finishing process. The use of moisture meter Highly recommended, especially for furniture and interior design projects.
5. Improper Spraying Techniques, Not in Accordance with Technical Guidelines
If the spray gun is held too close, the coating may become too wet, while holding it too far away will cause the paint to dry before it adheres to the surface.
Generally, the ideal spraying distance is in the range of 15–20 cm with an air pressure of approximately 2–3 bar, depending on the product specifications.
What Causes an Orange-Peel Finish on Wood?
1. Incorrect Application Technique; Failure to Follow Instructions
Orange peel often occurs when the spray gun is moved too quickly or the spray angle is not perpendicular to the wood surface. Hold the spray gun about 90° across the work surface to ensure that the material is distributed evenly.
2. The Paint or Varnish Is Too Thick
Material that is too thick does not flow well and therefore cannot level out before drying. Follow the dilution ratio specified in the product’s technical instructions to maintain ideal viscosity and achieve a smooth finish.
3. An Environment That Is Too Humid, Making the Drying Process Difficult
Air humidity above 70% RH can slow down the evaporation of the thinner, making it difficult to apply an even finish. The temperature in the finishing room should also be in the range of 25–30°C to ensure optimal drying.
4. Improper Use of Finishing Tools
A worn-out spray gun nozzle or an improperly sized nozzle can result in poor atomization. For wood finishing, a nozzle measuring approximately 1.3–1.5 mm generally produces a finer mist.
5. The Thinner Used Is Not Suitable
Each type of finish requires a different thinner. Using a thinner that evaporates too quickly can cause the surface to dry immediately before it has a chance to level out, making it more likely for an orange-peel texture to form.
Can Orange Peel Be Removed Without Reapplying the Finish?
Yes, as long as the orange peel effect is still mild. The surface can be repaired through a process wet sanding Use fine-grit sandpaper, such as 1500-2000, followed by polishing until the surface is smooth and shiny again.
However, if the orange peel texture is quite deep or covers nearly the entire surface, partial repairs usually do not yield optimal results. In such cases, the finish coat must be sanded down until smooth, and then reapplied according to procedure.
Therefore, implementing Tips for finishing wood to ensure a surface free of streaks and orange peel It’s much more efficient to do this from the start than to make repairs after the finishing work is complete.
See Also: A Guide to Wood Finishing to Keep the Grain's Natural Color Visible
What Are Some Tips for Finishing Wood to Ensure a Surface Free of Stains and Orange Peel?
1. Sand the Wooden Surface with the Right Grit
A tip for wood finishing to ensure a surface free of streaks and orange peel is to sand in stages, starting with grit 120, 180, up to 240 Depending on the condition of the wood. Avoid using fine-grit sandpaper right away, as marks from the coarse grain may still be visible after finishing.
2. Fill the Wood Pores with Wood Filler
Wood filler helps seal the pores in the wood, resulting in a smoother surface and more even stain absorption. This step also reduces the risk of uneven coloring on wood with large pores.
For best results, Milanians can use Milan Wood Filler Formulated to effectively fill wood pores, it is easy to sand and helps produce a smoother surface before the next finishing step.
3. Adjust the Paint’s Viscosity; Make Sure It’s Not Too Thick
Mix in thinner according to the product’s recommendations. Material with the proper viscosity will spread more evenly and produce a smooth finish without an orange-peel effect.
4. Prevent Stains on Wood by Applying Stain Evenly
Apply the wood stain in thin, gradual layers. Don’t make the color too dark in a single application, as this can cause streaking.
Using the right stain remover is the best approach. Milanians can use Milan Wood Stain because it has been proven to provide consistent color while still highlighting the wood’s natural grain. What’s more, there are many color options available, so you can customize it to your liking.
5. Use the Correct Application Technique
Keep the spray gun about 15–20 cm from the surface of the wood. Move your hand steadily at a consistent speed to ensure the layer remains uniform in thickness.
6. Spray the Paint Evenly, Making Sure There Are No Streaks
Use a horizontal spraying pattern, followed by a vertical pattern if necessary. Make sure each pass overlaps the previous one by approximately 50% to prevent colored lines from appearing.
7. Pay Attention to Your Work Environment; Avoid Damp Areas
Perform the finishing work in a clean room with good air circulation. Avoid areas that are too humid or dusty, as this can affect the quality of the finished surface.
8. Allow Time for Flash-off; Do Not Apply the Next Coat Immediately
After applying one coat, wait for the process to Let it flash off for about 10–20 minutes or follow the product instructions before applying the next coat. This method helps the solvent evaporate properly, thereby reducing the risk of an orange peel finish.
9. Apply the Final Finish
The final step serves to protect the color while providing the desired level of gloss. Use a high-quality top coat to ensure the finish is more scratch-resistant and has a more professional look.
Milanese residents can choose Milan Melamine Lacquer as a topcoat because it provides protection while creating a smooth, even, and elegant surface finish.
What Are the Best Wood Finishing Products for Preventing Stains and Orange Peel?
1. Milan Wood Filler – Seals Wood Pores
Milan Wood Filler It helps fill the wood pores evenly, resulting in a smoother surface before the staining process. This product also makes sanding easier and helps reduce the risk of uneven staining.
2. Milan Wood Stain – Provides a More Even Wood Finish Without Masking the Beauty of the Grain
Milan Wood Stain Designed to provide even color while preserving the natural character of the wood grain. The color is very transparent, so it doesn’t obscure the beauty of the wood grain. Suitable for various types of furniture and interior design needs.
3. Milan Melamine Sanding Sealer – Seals Wood Pores Before Applying the Top Coat
Melamine Sanding Sealer It serves to create an even base layer before applying the top coat. In addition to improving the adhesion of the next layer, this product also helps produce a smoother finish.
4. Milan Melamine Lacquer – Top Coat
As the final protective layer, Milan Melamine Lacquer It provides a smoother, more even finish and offers good durability against everyday wear and tear. It enhances the natural grain with a high gloss finish. Interestingly, it comes in gloss, semi-gloss, satin, and matte finishes that can be tailored to Milanians’ needs.
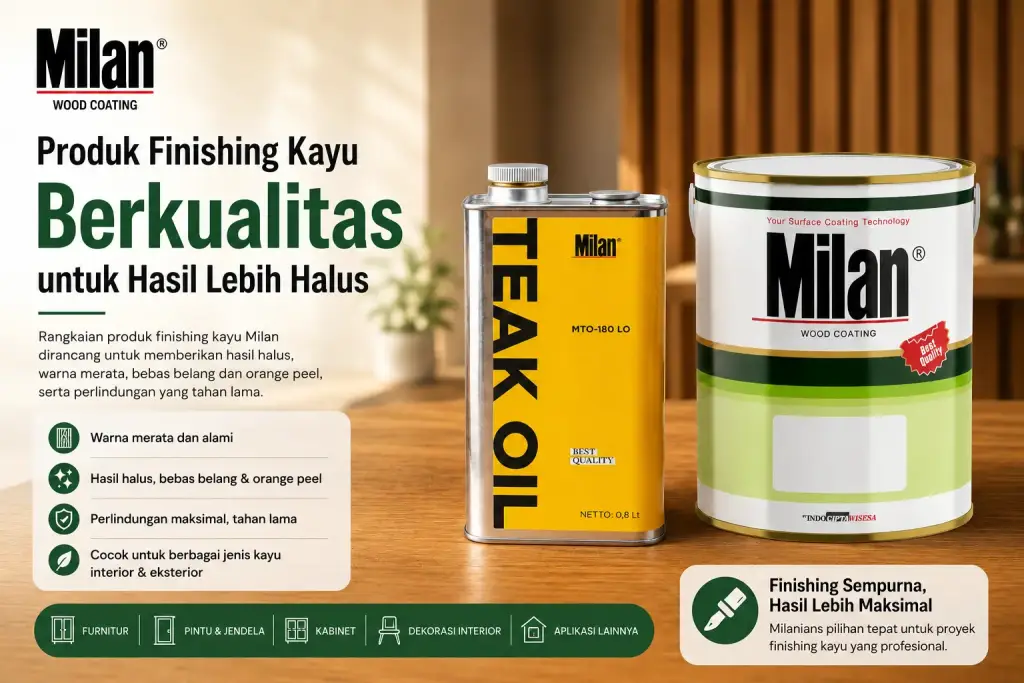
5. Milan Teak Oil – A More Natural Finish
For Milanians who want a natural look, Milan Teak Oil is the right choice. It is designed to enhance the beauty of the wood grain while protecting the surface without forming a film that is too thick.
Achieve a Smoother Wood Finish Without Streaks or Orange Peel with Milan Finishing Products!
A wood finish that free of spots and orange peel It depends not only on the application technique, but is also determined by the quality of the products used at each stage of the process.
From wood filler, wood stain, and sanding sealer to top coat, choosing the right product will help you achieve a flatter, smoother, and more durable wood surface.
If Milanians are looking for high-quality wood finishing solutions for their furniture, interior design, or professional projects, the product line Milan Wood finishes are here to help you achieve the best results.
Established in 1994, Milan has addressed these various issues, including uneven wood finishes and an orange-peel texture. As a result, the Milan line of finishing products has been introduced to help achieve a smoother finish.
Want a finish free of streaks and orange peel? Consult with Milan’s team of experts about your Milanians project needs by Click the banner below!