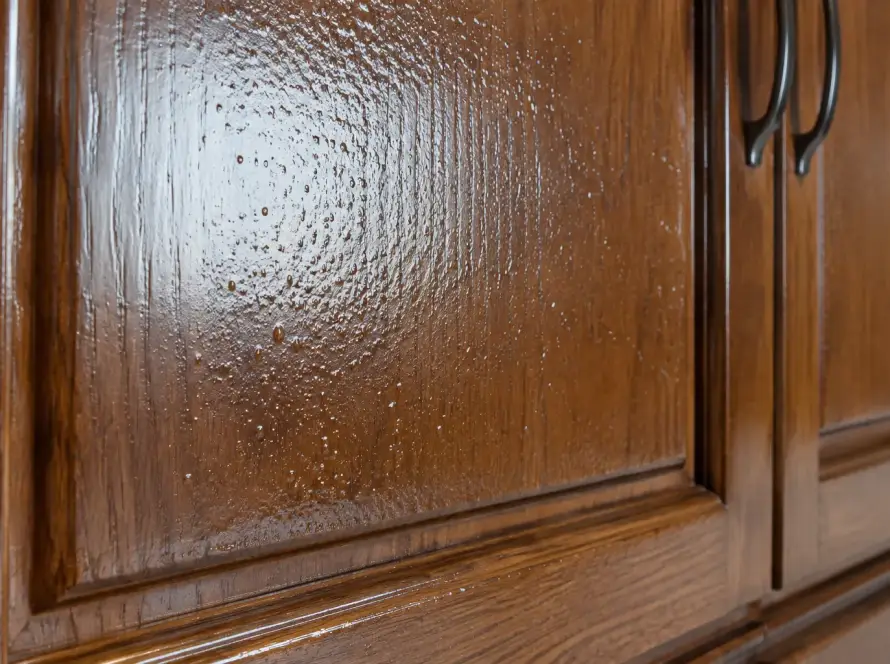
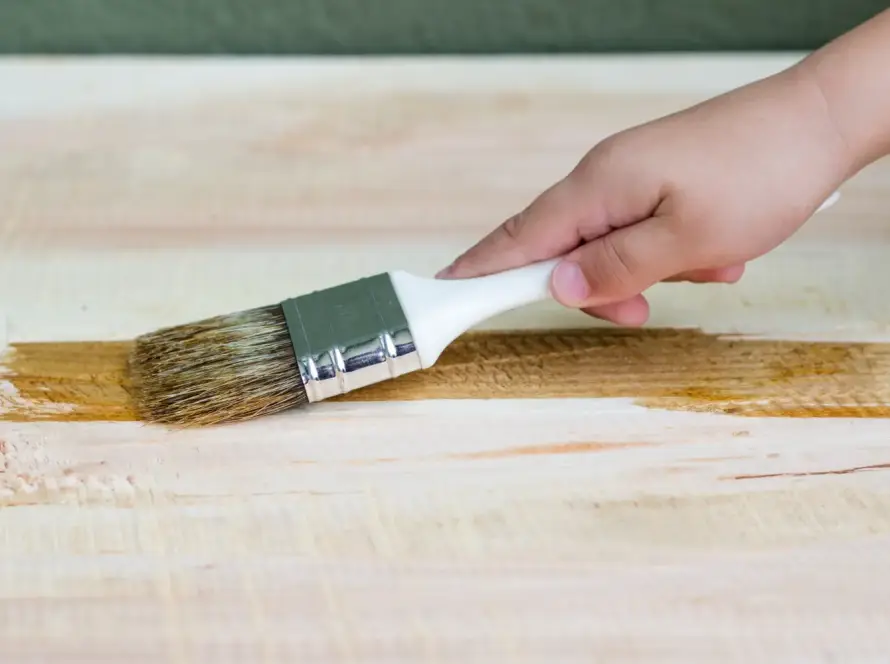
If you’ve ever finished wood, you know that the final result isn’t determined solely by the top coat. A sanded wood surface may look smooth, but its pores can still cause the finish to be uneven. This is where a sanding sealer plays a crucial role.
A sanding sealer is used as a base coat before the top coat to help seal the wood’s pores, even out the surface, and prepare the wood for the next finishing coat. With the right steps, the finishing process can be neater, more efficient, and produce a more professional look.
So, what are the benefits of using a sanding sealer before applying a top coat? Let’s find out more below!
What Is a Sanding Sealer in the Wood Finishing Process?
A sanding sealer is a base coat applied to a wooden surface before the final finish, or top coat. Its purpose is not merely to add an extra layer, but to prepare the surface so it is better primed to receive the next coat.
Wood has pores and a natural grain that can cause finishing products to be absorbed unevenly. A sanding sealer helps fill and seal those pores, resulting in a smoother, more even wood surface.
Once the coat has dried, the surface can be sanded again to prepare it for the final finish.
In furniture finishing, this step is especially important if Milanians want a smooth, even, and professional-looking finish. Sanding sealer can be used on a variety of items, such as tables, chairs, cabinets, doors, decorative panels, and kitchen sets.
The Role of Sanding Sealer in Wood Finishing
The benefits of using a sanding sealer before applying a top coat are closely tied to its functions. Some of the functions of a sanding sealer in the wood finishing process include:
- Sealing the pores of the wood
- Smoothing the surface of the wood
- Helps reduce top coat absorption
- Preparing the surface before applying the top coat
- Simplifies the sanding process between coats
- Improving the adhesion of the finish coat
- Helps produce a smoother surface
- Helps create a neater and more consistent finish
See Also: Is Your Kayumu Bubble Finishing Peeling? Here Are the Causes and the Right Way to Fix It
The Right Time to Apply a Sanding Sealer
Sanding sealer is applied after the wood surface has been prepared and, if necessary, after the wood has been stained. The wood surface should be sanded, clean, dry, and free of dust, oil, and dirt before the sanding sealer is applied.
If Milanians want to add color to the wood, they can apply wood stain first so that the color soaks into the grain and the wood’s natural character remains visible. Once that step is complete according to the finishing system being used, a sanding sealer can serve as a base coat before moving on to the top coat.
Benefits of Using a Sanding Sealer Before Applying a Top Coat

1. Smoothing the Surface of Wood
One of the most noticeable benefits of using a sanding sealer is that it makes the wood surface smoother and more even. A coat of sanding sealer helps fill in the pores and smooth out minor irregularities on the wood surface.
Once the sanding sealer has dried, the surface can be sanded using the appropriate grit. This process helps remove any rough spots, making the surface better prepared to receive the top coat. The final result is neater and less likely to reveal the uneven texture of the wood.
2. Expanding the Wood Sanding Process
Sanding isn’t just done before applying the sanding sealer. Once the sanding sealer coat is dry, Milanians can sand between coats to achieve a smoother surface.
This step makes the finishing process more controllable because the surface can be corrected before the top coat is applied. Milan MSS 251, for example, is designed to be easily sanded after application, making the preparation process for the final coat more practical.
3. Reducing Absorption in the Top Coat
Wood is a porous material, so it can absorb finishing products. If a topcoat is applied directly to the wood without a suitable base coat, absorption may be greater and not always even.
Sanding sealer helps seal the wood’s pores first. This gives the topcoat a better-prepared surface and allows for more controlled absorption. This is one of the key benefits of using sanding sealer to achieve a consistent finish.
4. Saves Time on Applications, More Efficient
A surface that has been prepared with a sanding sealer can make the finishing process more efficient. The wood’s pores have already been treated at an early stage, allowing the final coat to be applied with greater precision.
For example, a sanding sealer has a drying time of about 1 hour at room temperature, so it can help speed up the finishing process when used according to the application instructions.
5. Improving the Durability of Wood
A sanding sealer is not a substitute for a top coat, but it is an important part of the finishing system. A good base coat helps create a surface that is better prepared to receive the next finishing coat.
In addition to helping improve the adhesion of the finish coat, Milan MSS 251 also has a high degree of hardness and is scratch-resistant. The right combination of primer and topcoat can help produce a higher-quality, more durable finish.
Characteristics of a High-Quality Sanding Sealer for Finishing
When choosing a wood sanding sealer, Milanians can consider the following characteristics:
- Effectively seals wood pores
- Easy to apply
- Easy to sand once dry
- Produces a smooth, even surface
- Has good adhesion to the finish coat
- Has a good level of hardness
- Drying time as required by the job
- Suitable for use in a variety of furniture applications
- Delivers consistent results
- Includes clear mixing and application instructions
Recommendations for High-Quality Sanding Sealers
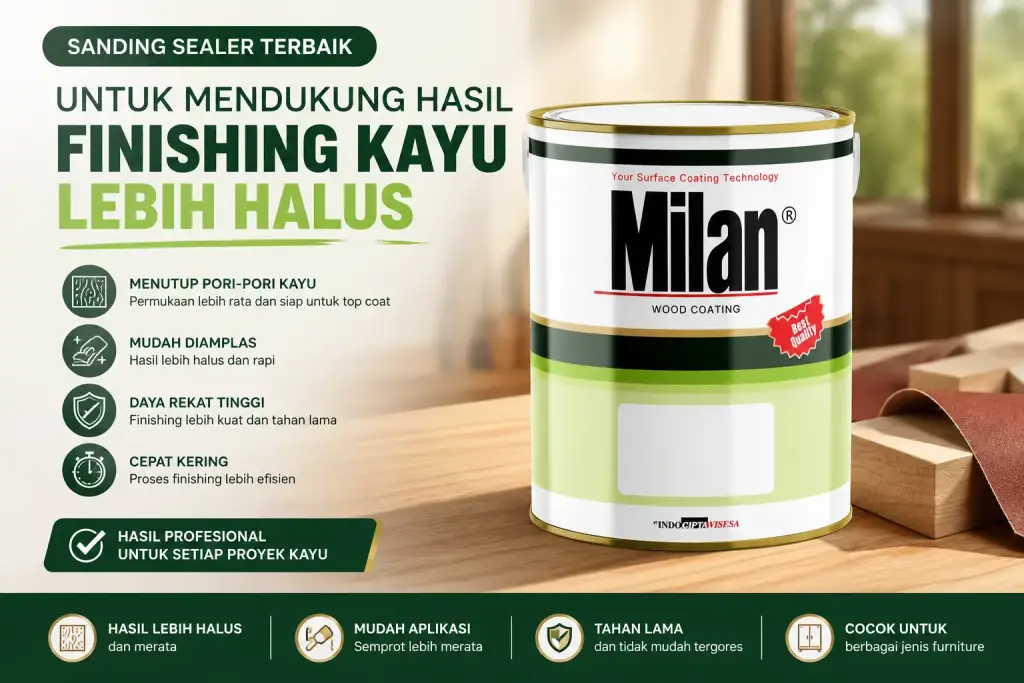
Choosing the wrong sanding sealer can affect the final finish of the wood. So, make sure Milanians choose a high-quality product—one of which is Melamine Sanding Sealer (MSS) 251 Milan which is suitable for both furniture and interior design needs.
Melamine Sanding Sealer Milan is a two-component melamine primer consisting of a resin and a hardener, designed to help seal the pores of the wood, resulting in a smoother, more even surface that is ready for the topcoat.
Some of the benefits of using Milan Sanding Sealer before applying the top coat include:
- Easy to apply: helps simplify the finishing process for a variety of furniture needs.
- Easy to sand: makes it easier to smooth the surface after the coat has dried.
- Quick-drying: Let it dry for about 1 hour at room temperature so that the work can proceed more efficiently.
- Closes pores effectively: helps produce a smoother and more even wood surface.
- Improving the adhesion of the finish: helps prepare the surface to receive the next finishing coat.
- High level of violence: helps create a base layer that is scratch-resistant.
- Flexible packaging options: Available in 1 kg, 5 kg, and 20 kg sizes.
See Also: 9 Tips for Finishing Wood to Ensure a Surface Free of Stains and Orange Peel
Milan Melamine Sanding Sealer User Guide
1. Prepare the Surface by Sanding the Wood
Start by sanding the wood surface with 180-grit sandpaper, following the grain of the wood. When you’re done, remove all sanding dust so it doesn’t interfere with the adhesion or the results of the sanding sealer application. The surface must also be clean and dry.
2. Add Color If Necessary
If Milanians want to add color while still highlighting the wood grain, the staining process can be done before applying the sanding sealer, in accordance with the finishing system being used.
One option you can use is Milan Wood Stain because it creates a transparent finish that allows the wood’s natural color to show through. This product can also be applied using a brush, a cloth, or a spray gun.
3. Dilute Milan Melamine Sanding Sealer According to the Instructions
Milan MSS 251 is a two-component product, so the resin and hardener must be mixed in the correct ratio. According to Milan’s instructions, use a ratio of paint : hardener : thinner = 9 : 1 : 6.
Make sure all components are thoroughly mixed before use. Do not alter the mixing ratio arbitrarily, as this may affect the properties of the coating and the finish.
4. Spray the Sanding Sealer in a Thin, Even Coat
Apply Milan Melamine Sanding Sealer with a spray in a thin, even coat to the wood surface. Avoid applying a coat that is too thick in a single application, as this may increase the risk of an uneven finish.
Make sure to apply the spray consistently so that the coating covers the surface thoroughly.
5. Once Dry, Sand the Wooden Surface
After the sanding sealer coat has dried, sand the surface using 400-grit sandpaper. This step helps smooth the surface while preparing it for the next coat.
Make sure the coat is dry enough before sanding so that the surface isn’t damaged or ends up uneven.
6. Repeat Once More for Optimal Results
Once the sanding process is complete and the dust has been cleaned up, reapply a thin, even coat of sanding sealer. Milan recommends repeating the sanding sealer application step one more time.
By following these steps, the wood surface can be prepared more effectively before moving on to the next finishing stage.
FAQ
Is It Necessary to Use a Sanding Sealer Before Applying the Top Coat?
Not always, because requirements can vary depending on the material, product, and finishing method. However, a sanding sealer is highly recommended when you need a smoother surface, tighter pores, and better preparation before applying the top coat.
What Happens If a Top Coat Is Applied Without a Sanding Sealer?
The top coat can come into direct contact with the wood’s pores, which can lead to higher and uneven absorption of the finish. As a result, the surface may require more leveling or additional coats to achieve a consistent finish.
Can a Sanding Sealer Make the Finish More Durable?
A sanding sealer can help improve the quality of the finishing system by preparing the surface and enhancing the adhesion of the coating. However, the final durability is still influenced by a combination of the sanding sealer, top coat, surface preparation, application technique, and conditions of use.
What Is the Difference in the Finish with and without a Sanding Sealer?
With a sanding sealer, the wood surface is generally better prepared for finishing because it helps seal the pores, and the surface can be sanded again before the final coat is applied. Without a sanding sealer, the topcoat is applied directly to the wood surface, so the absorption and condition of the wood’s pores have a greater impact on the final result.
Achieve a Smoother Finish with Milan’s Combination of Sanding Sealer and Top Coat!
The benefits of using a sanding sealer before applying the top coat include not only helping to seal the pores but also producing a smoother, longer-lasting finish.
If Milanians want a smoother finish, use a combination of Melamine Sanding Sealer and Nitrocellulose Top Coat from Milan. The combination of these two products produces a smoother, neater, and more elegant finish on furniture and interiors, without any ripples or other finishing issues.
Want to use both products? Consult with us about your Milanians project needs Join the Milan Expert Team by clicking the banner below!