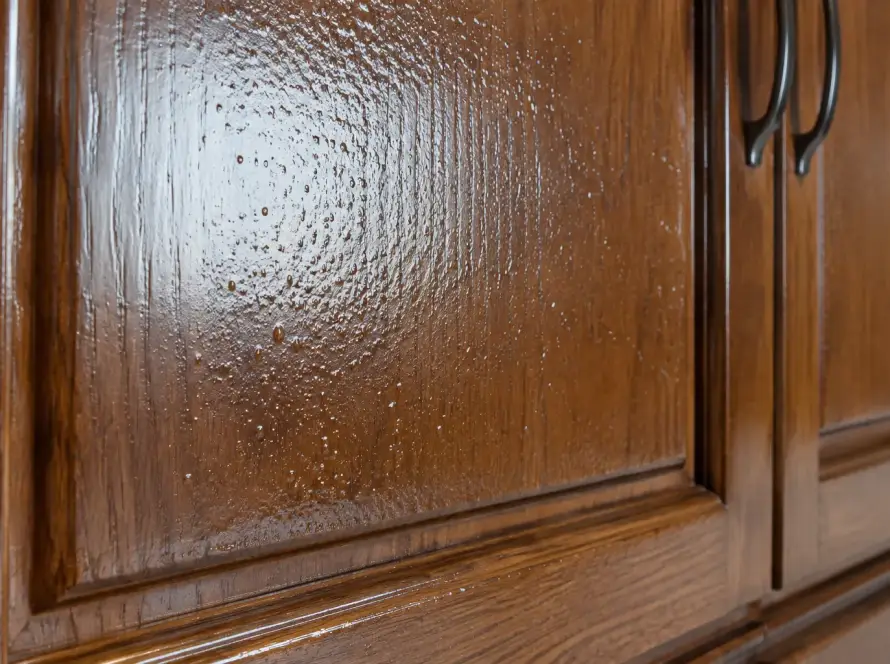
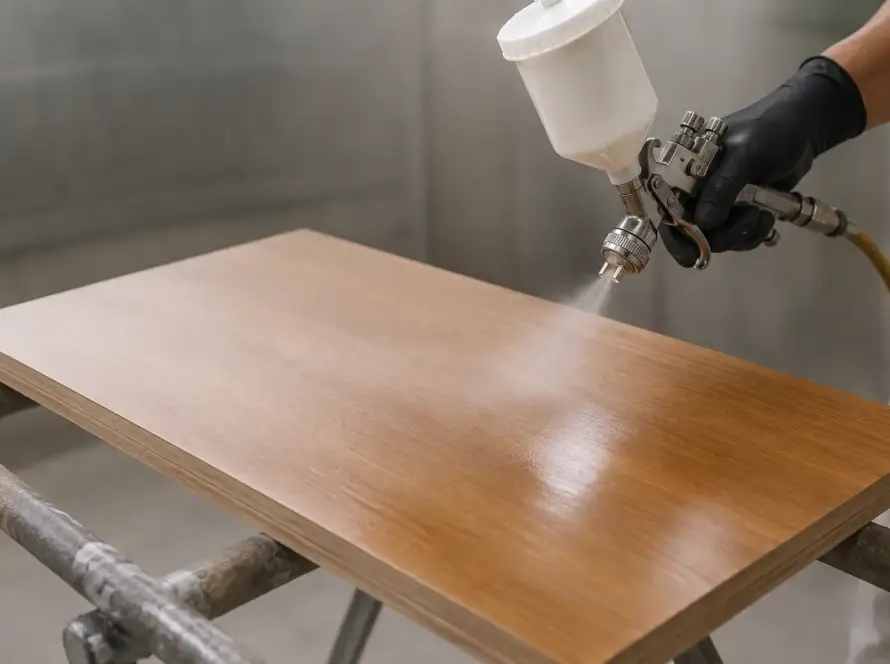
Sebagai penggiat kerajinan kayu, kita tahu bahwa sentuhan akhir adalah segalanya. Tidak peduli seberapa rumit ukiran atau seberapa presisi sambungannya, hasil akhir yang sempurna hanya bisa dicapai melalui proses finishing yang tepat.
Salah satu tahapan terpenting yang sering disepelekan adalah pengamplasan karena tahapan ini adalah tahapan yang menentukan seberapa mulus dan indah tampilan produk kayu kita, apalagi jika akan dilapisi lem kayu atau cat kayu.
Di artikel ini, kita akan membahas lebih detail berbagai jenis amplas, arti nomor amplas, serta cara menggunakan yang benar. Tujuannya adalah membantu menghasilkan karya dengan sentuhan akhir yang profesional dan berkualitas tinggi.
Fungsi Amplas Kayu
Seringkali kita berpikir fungsinya hanya sebatas menghaluskan permukaan kayu. Padahal, perannya jauh lebih krusial dari itu. Secara umum, memiliki beberapa fungsi utama dalam pengerjaan kayu:
1. Menghilangkan Ketidaksempurnaan
Efektif untuk menghilangkan goresan, noda, atau bekas alat potong pada permukaan kayu.
2. Meratakan Permukaan
Dapat digunakan untuk meratakan permukaan kayu yang tidak rata atau bergelombang, menjadikannya siap untuk proses finishing selanjutnya.
3. Membuka Pori-pori Kayu
Ini adalah fungsi yang sangat penting, terutama jika kita akan menggunakan cat kayu atau lem kayu. Pengamplasan membuka pori-pori kayu, memastikan produk finishing dapat menempel dengan kuat, merata, dan tahan lama. Jika tidak dilakukan baik, cat bisa mengelupas atau lem tidak merekat sempurna.
4. Menghilangkan Serat Kayu yang Berdiri
Setelah kayu basah atau terkena lem, serat-serat halus pada permukaan bisa berdiri. Pengamplasan ringan dapat meratakannya kembali.
5. Persiapan Finishing
Setiap lapisan finishing, baik itu cat, pernis, atau wood stain, membutuhkan permukaan yang bersih dan rata. Amplas adalah alat utama untuk mencapai kondisi tersebut.
Milan memiliki beberapa produk finishing kayu dengan kualitas terbaik, mulai dari Milan Wood Stain, Milan Acqua Stain, Milan Teak Oil, hingga Milan Melamine Lacquer.
Untuk informasi selengkapnya, Anda bisa melihat produk finishing kayu Milan di sini!
See Also: Melamine vs. NC vs. PU: Which Wood Finish Is Best for Your Project?
Jenis-Jenis Amplas Berdasarkan Bahan
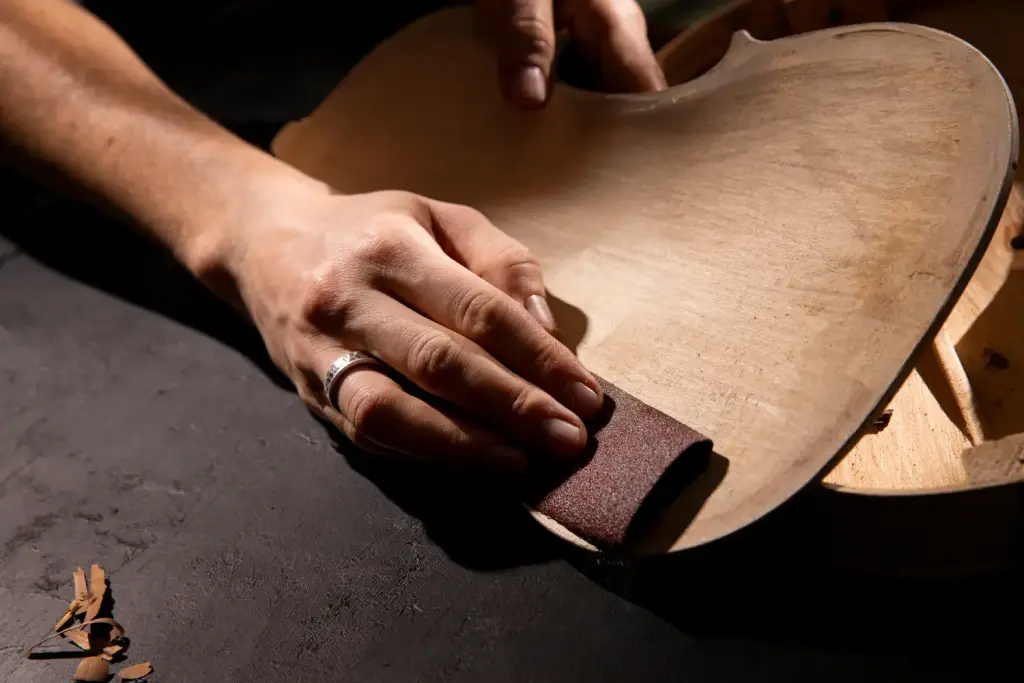
Sebelum lebih jauh, penting untuk mengetahui bahwa amplas kayu tidak hanya dibedakan berdasarkan nomor, tetapi juga berdasarkan bahan abrasifnya.
Pemilihan bahan ini akan memengaruhi hasil dan daya tahan itu sendiri. Berikut beberapa jenis yang umum digunakan adalah:
- Pasir (Garnet): Jenis ini adalah yang paling sering kita temui, biasanya berwarna kemerahan. Cocok untuk pengerjaan kayu secara umum karena menghasilkan permukaan yang halus. Namun, jenis ini cenderung cepat tumpul.
- Alumina Oksida: Lebih kuat dan tahan lama dibandingkan garnet. Partikelnya yang tajam menjadikannya ideal untuk kayu keras dan bahkan logam.
- Silikon Karbida: Butirannya paling tajam dan keras, biasanya digunakan untuk material keras seperti batu, plastik, dan juga untuk pengamplasan basah (wet sanding) yang menghasilkan permukaan sangat halus.
- Zirkonia Oksida: Bahan ini sangat kuat, ideal untuk material yang berat dan butuh cepat. Cocok untuk menghilangkan lapisan lama atau meratakan permukaan kayu yang sangat tidak rata.
See Also: The Importance of a Base Coat for Wood and How to Apply It Properly
Panduan Nomor Amplas (Grit) untuk Hasil Optimal
Setiap lembar sandpaper memiliki nomor yang disebut grit. Nomor ini menunjukkan seberapa kasar atau halus butiran abrasifnya. Semakin kecil nomornya, semakin kasar amplasnya. Sebaliknya, semakin besar nomornya, semakin halus amplas tersebut.
Berikut adalah panduan praktis nomor amplas kayu dan penggunaannya:
- Grit 40-60 (Sangat Kasar): Digunakan diawal pada kayu yang sangat kasar, untuk menghilangkan bekas gergaji atau meratakan permukaan yang sangat tidak rata. Jangan gunakan ini untuk finishing karena akan meninggalkan goresan dalam.
- Grit 80-120 (Kasar): Cocok untuk menghilangkan lapisan cat lama, noda, atau bekas lem yang sudah kering. Ini adalah langkah awal yang baik sebelum beralih ke yang lebih halus.
- Grit 150-180 (Sedang): Ini adalah nomor standar yang paling serbaguna. Ideal untuk dipakai atau dilakukan akhir sebelum cat kayu.
- Grit 220-240 (Halus): Gunakan nomor ini untuk pengerjaan yang ringan sebelum pengecatan atau untuk pengamplasan di antara lapisan cat. Untuk menghaluskan kayu sebelum pernis biasanya dimulai dari grit ini.
- Grit 320 ke Atas (Sangat Halus): Sering disebut grit finishing, nomor ini digunakan untuk menghasilkan permukaan yang sangat halus dan mengkilap. Cocok untuk pengerjaan di antara lapisan cat atau pernis untuk menghilangkan “bulu” yang berdiri dan membuat permukaan benar-benar rata.
Pertanyaan yang sering muncul:
“Setelah lem kayu apakah harus diamplas?”
Jawabannya, sangat disarankan! Sisa lem yang mengering, meskipun sedikit, akan menciptakan permukaan yang tidak rata dan menghalangi penyerapan cat atau pernis.
Gunakan Grit 120-150 untuk meratakan sisa-sisa lem kayu yang mengering, lalu naikkan ke Grit 180 untuk menghaluskan permukaannya.
Teknik Amplas Kayu yang Benar
Mengamplas tidak hanya tentang memilih nomor yang tepat, tetapi juga tentang teknik yang benar. Karena jika teknik salah malah bisa merusak permukaan kayu.
Berikut adalah beberapa tips yang perlu kita perhatikan:
1. Mulai dari Grit Kasar ke Halus
Selalu mulai dengan grit rendah (kasar) dan secara bertahap naik ke grit yang lebih tinggi (halus). Jangan melompat terlalu jauh, misalnya dari Grit 80 langsung ke Grit 320, karena goresan dari grit kasar tidak akan hilang sempurna.
2. Searah Serat Kayu
Ini adalah aturan emas. Selalu gosok mengikuti arah serat kayu. Jika melintang atau berlawanan arah akan meninggalkan goresan yang sulit dihilangkan, terutama saat kayu sudah diberi finishing.
3. Gunakan Blok
Untuk permukaan yang rata, gunakan blok amplas (sanding block). Alat ini akan mendistribusikan tekanan secara merata dan mencegah jari kita membuat cekungan atau goresan yang tidak rata.
4. Bersihkan Debu
Setelah setiap tahapan, bersihkan debu yang menempel. Gunakan lap kering, kuas, atau vacuum cleaner. Sisa debu dapat menghambat proses selanjutnya dan membuat hasil finishing tidak maksimal.
5. Periksa Permukaan Setelah Setiap Tahap
Setelah selesai dengan satu grit, raba permukaan kayu dengan tangan kita. Pastikan sudah benar-benar halus dan tidak ada goresan sebelum beralih ke grit berikutnya.
FAQ (Frequently Asked Questions)
Amplas kayu apa yang bagus?
Yang bagus tergantung pada tujuan kita. Untuk meratakan, gunakan grit rendah (80-120). Untuk menghaluskan sebelum dicat atau di-finishing, gunakan grit 150-240.
Nomor amplas kayu berapa?
Nomor bervariasi dari 40 (sangat kasar) hingga 320 ke atas (sangat halus). Gunakan serangkaian nomor secara bertahap, mulai dari yang kasar hingga yang halus, untuk hasil terbaik.
Cat kayu diamplas pakai nomor berapa?
Gunakan grit 180-240 untuk material ringan sebelum cat. Setelah lapisan cat kering, kita bisa menggunakan grit 320 atau lebih tinggi untuk antar-lapisan.
Setelah cat kayu harus diamplas?
Ya, setelah cat kering, sangat disarankan untuk menggunakan grit 320+ untuk meratakan permukaan dan menghilangkan “bulu” yang muncul, agar lapisan berikutnya menempel lebih baik.
Amplas digunakan untuk apa saja?
Menghaluskan permukaan, menghilangkan goresan, meratakan lapisan, membersihkan bekas lem, dan mempersiapkan media sebelum dicat atau dilapisi finishing.
Apakah amplas bisa untuk besi?
Ya, jenis dengan butiran keras seperti zirkonia atau alumina oksida bisa digunakan untuk besi atau logam lain, biasanya untuk menghilangkan karat atau meratakan permukaan.
Apa itu Grit?
Grit adalah istilah yang menunjukkan seberapa kasar butiran pada amplas. Semakin kecil nomor grit, semakin kasar.
Perbedaan amplas kering dan basah?
Untuk yang kering digunakan pada media kering, sementara jenis yang basah dirancang untuk digunakan dengan air untuk menghasilkan permukaan yang lebih halus dan mengurangi debu.
Kenapa setelah di amplas harus di lap?
Karena permukaan kayu akan memiliki sisa-sisa debu halus. Debu ini harus dilap sampai bersih agar tidak mengganggu daya rekat lem atau cat yang akan diaplikasikan.
Berapa kali amplas cat kayu?
Cat kayu bisa dua hingga tiga kali: sekali sebelum pengecatan, dan satu atau dua kali di antara lapisan cat (jika diperlukan) untuk memastikan hasil akhir yang sempurna.
Conclusion
Mengamplas, bagi pemula atau yang belum terbiasa, mungkin seperti pekerjaan yang melelahkan dan memakan waktu, tapi ini adalah investasi yang sangat berharga untuk kualitas karya kita.
Teknik yang teliti dan benar akan memastikan produk lem kayu dan cat kayu yang kita gunakan dapat bekerja optimal, menghasilkan permukaan yang mulus, tahan lama, dan profesional.
Setelah mengetahui teknik amplas kayu yang benar, Anda jangan berhenti di sini jika ingin menghasilkan produk furniture atau interior mewah. Perlu pahami panduan melakukan finishing kayu yang tepat, agar hasilnya elegan dan bertahan lama.
Untuk hasil finishing kayu natural, elegan, dan mewah bisa menggunakan cat kayu Milan. Anda bisa mengunjungi halaman produk Milan atau tekan banner di bawah ini untuk konsultasi bersama Tim Ahli Milan!